sydngoose
Well-known member
all the pieces of the puzzle coming together for you. Great!!


warthog5":19uaadwo said:Here is a suggestion.
It will take a little custom fitting and mock up. the aft bulkhead that you cut out....... Install a Limber hole at each corner even with the top of the tank.
Install the Coal Tared tank.....Foam it in with 4lb density. Then trim the foam even with the top of the tank. Now with some 3in fiberglass tape....Something around 10 or 12oz weight. Lap the glass from the side to the top of the tank in a L shape.
This will seal any water feom wicking into the new foam that may leak thru a piehole...You'll never know if it does or doesn't.
That water will lay on the top of the tank......But you installed those limbers so it will drain away.
Brent":ies517ln said:a curious question about your old tank
Does it have baffles?
If so, how many? Orientation? port to starboard or bow to aft?
thanks
") ! )
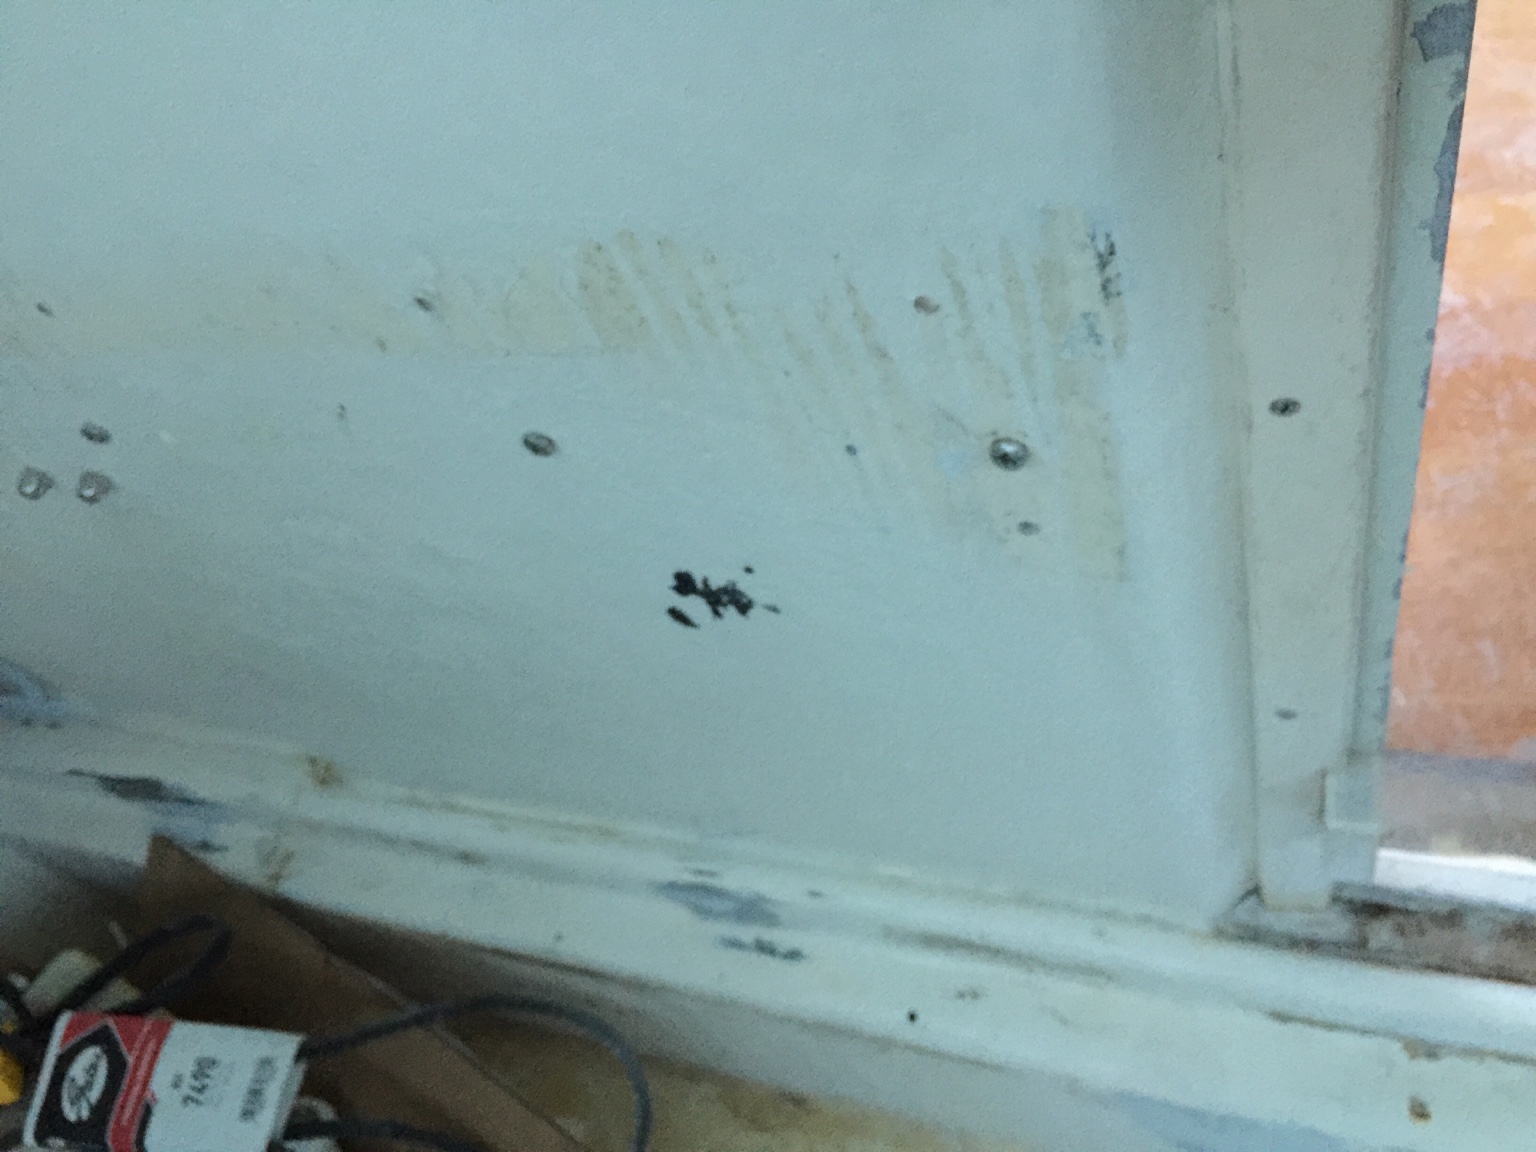
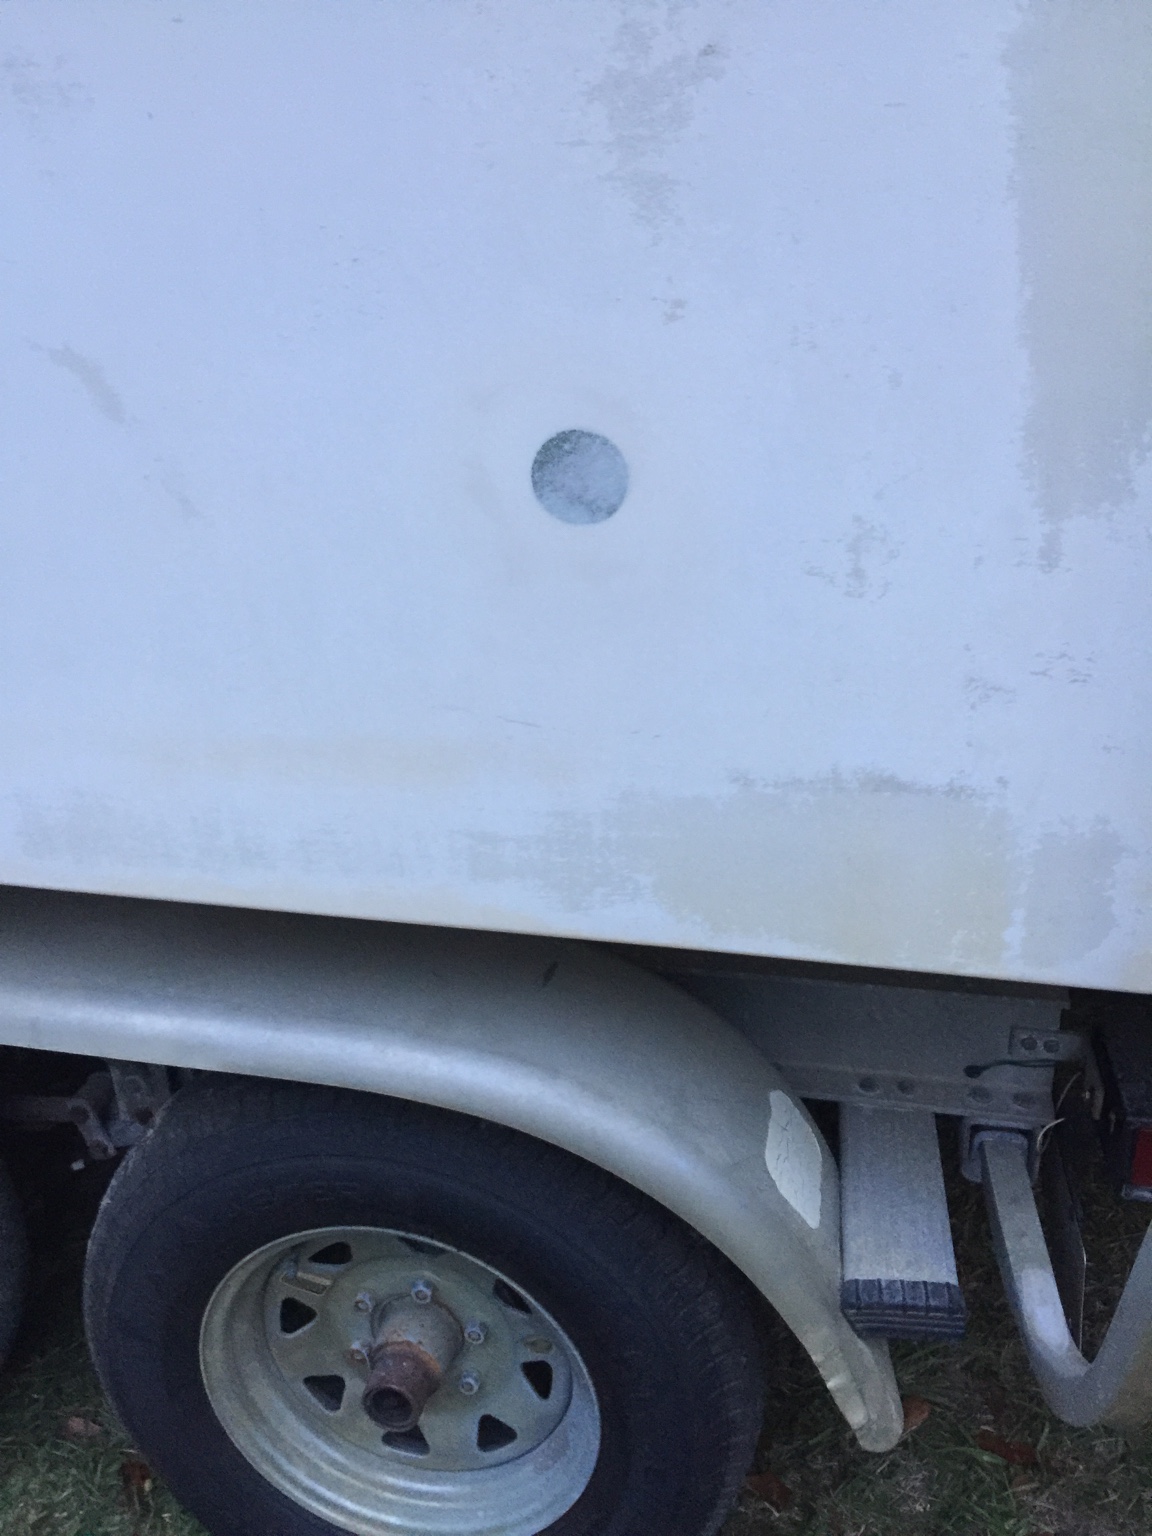
! )The guy putting everything back together is planning on putting nice large limber holes in every stringer and bulkhead. There should be no way for any water to become trapped. He also said as far as the new tank goes, he will use the metal tabs and some sort of bracing under the tank to allow air flow all the way around the tank. Air flow coupled with the large limber holes along with no more foam should keep the area from holding water.
warthog5":2l7657uv said:The guy putting everything back together is planning on putting nice large limber holes in every stringer and bulkhead. There should be no way for any water to become trapped. He also said as far as the new tank goes, he will use the metal tabs and some sort of bracing under the tank to allow air flow all the way around the tank. Air flow coupled with the large limber holes along with no more foam should keep the area from holding water.
Here is what you need to understand about bare alum.
It requires air to create that self protective coating. The lack of air and bare alum, combined with water is what caused the hole. The foam held the water and did not allow the air around the alum.
Now the fix is protecting the alum. Hence .....The Coal Tar Epoxy.
This now protects the alum from the elements.
If I was doing it.....It would be foamed in again. The forces that are there with a 600+ lb weight are tremendious. A few tabs and #12 screws is not adequate. A tank that has broken loose is a Wrecking Ball.
I've done and seen a LOT of tanks.


1. sand and paint the engine compartment (PAINT RECOMENDATIONS???)
warthog5":3v0nw1vi said:1. sand and paint the engine compartment (PAINT RECOMENDATIONS???)
Sherwinn Williams Tile Cad HS It's a True Epoxy.... It's used to paint the inside of water towers and also makes a good shop floor paint for concrete.
No priming needed.... Will not lift or bubble..... You can roll and brush it..... It will flow nicely and it will clean easily.
You need part A and Part B...... smallest size is a gal.... So you will have 2gal total.


warthog5":1rge18s0 said:Can't say as I've ever seen a fuel sending unit like that.
How does it fasten in?


Enter your email address to join:
