warthog5
Well-known member
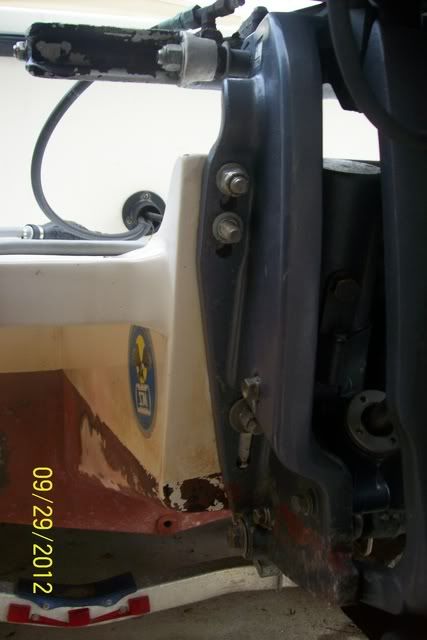
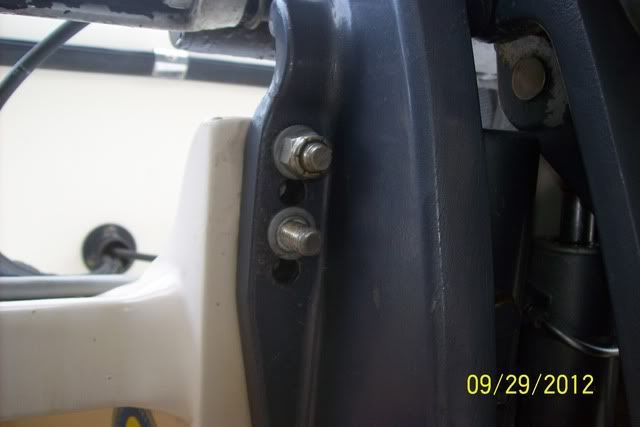
What hole is your motor mounted in? Usually a boat will respond well to the motor being raised. The dealer /Factory usually don't really care.


")
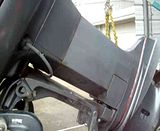

 IE: Right in the center of one of the hatches.

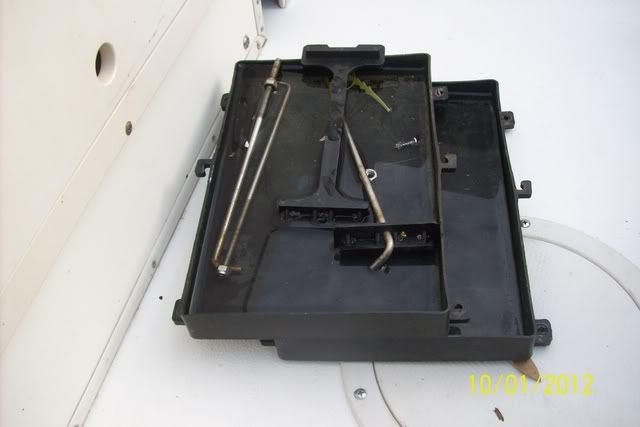
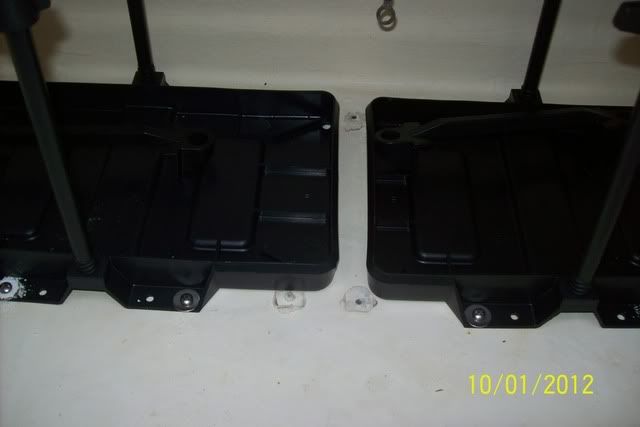
warthog5":1msbzulk said:I ordered the 24 X 9 Bennetts w/ the EIC Switch/ monitor from BOE
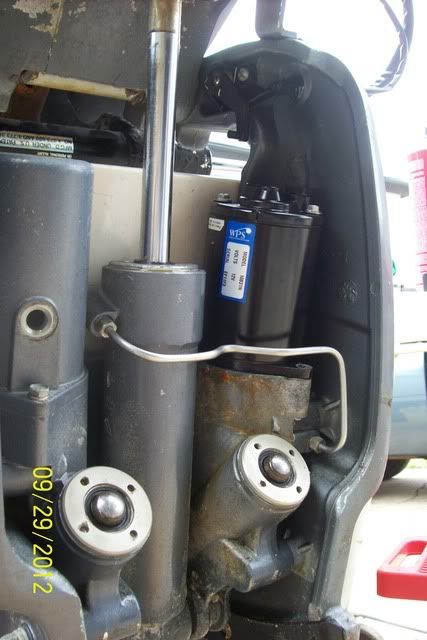
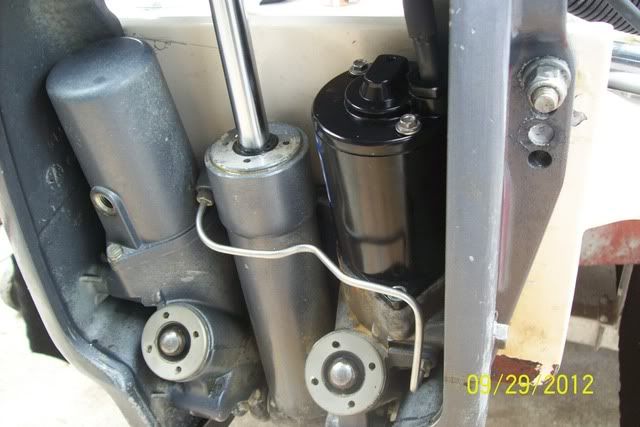
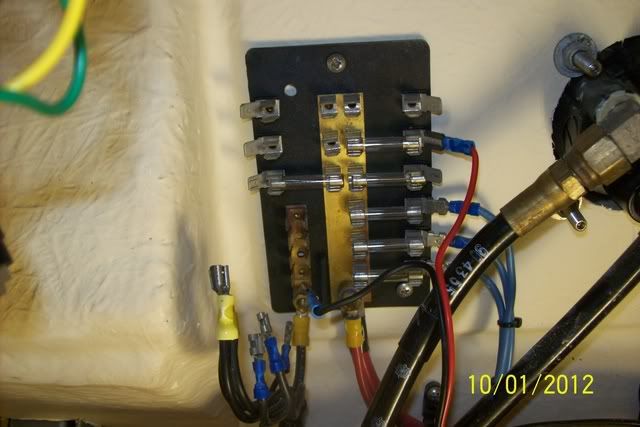
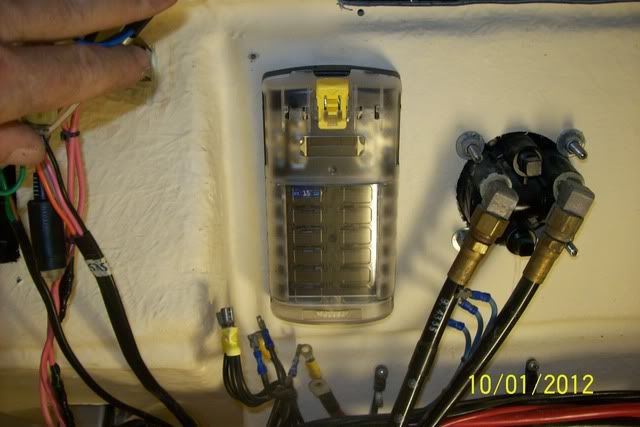
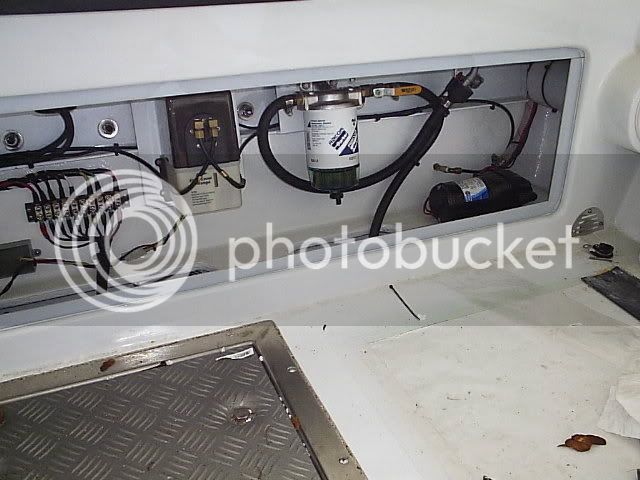
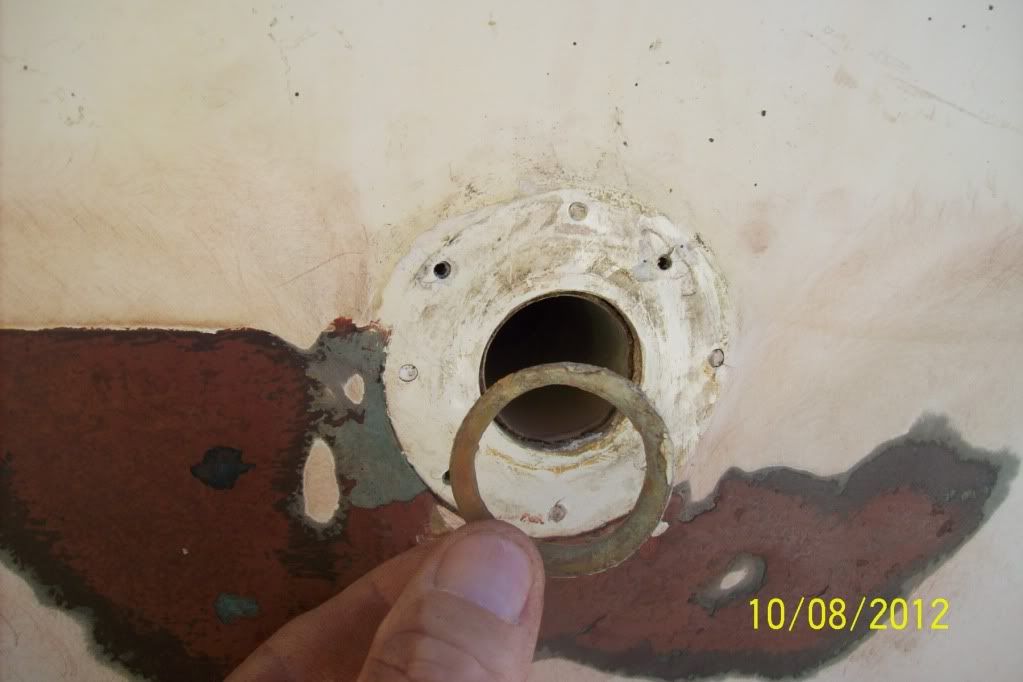
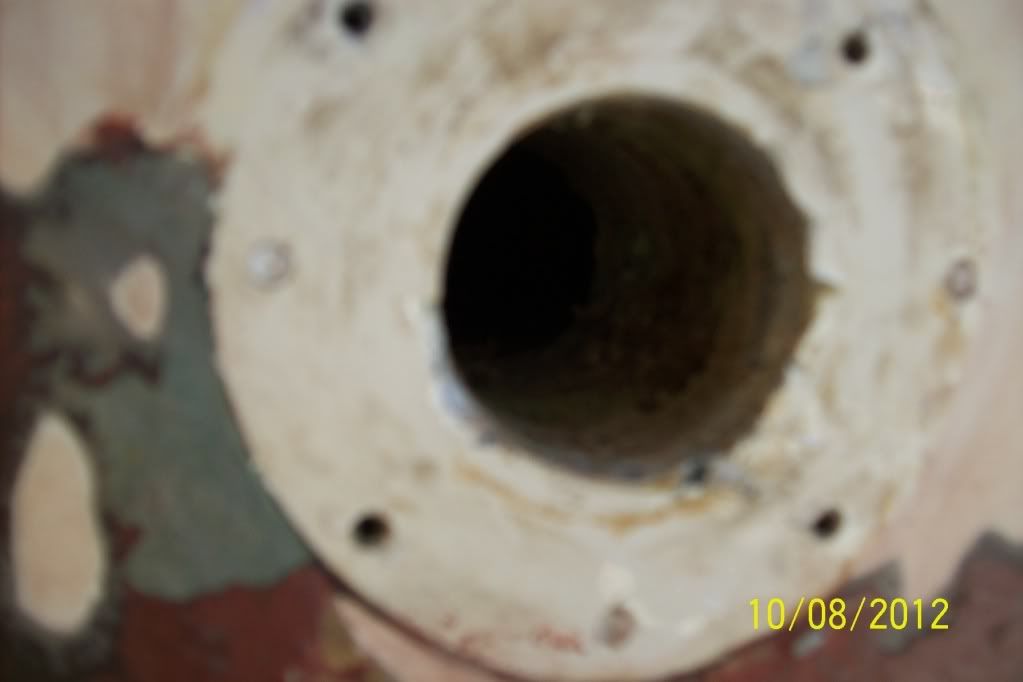
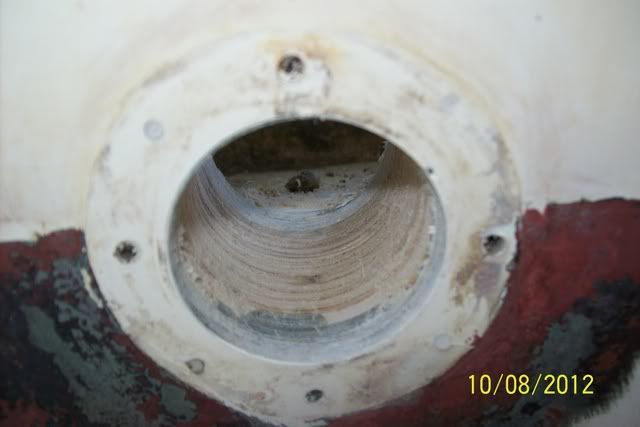
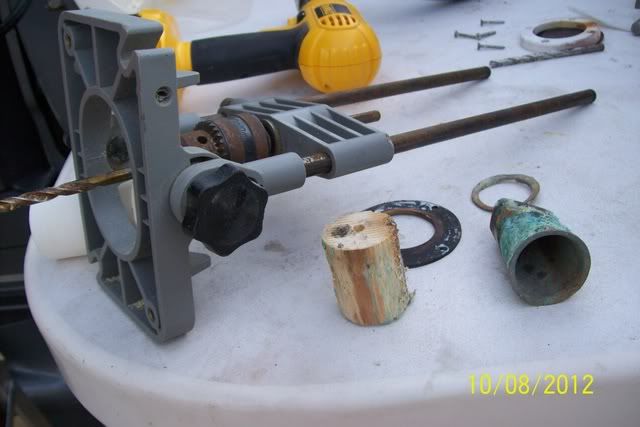
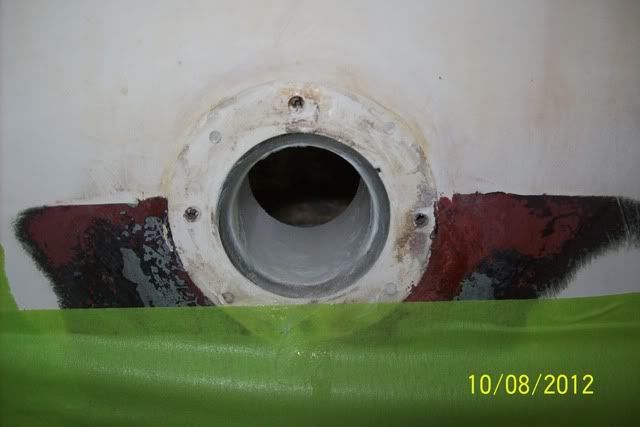
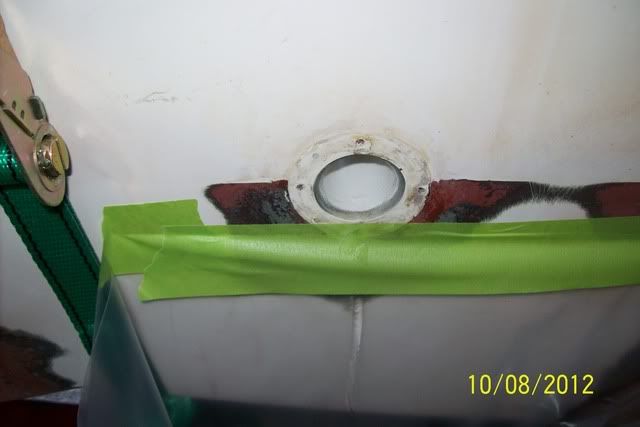
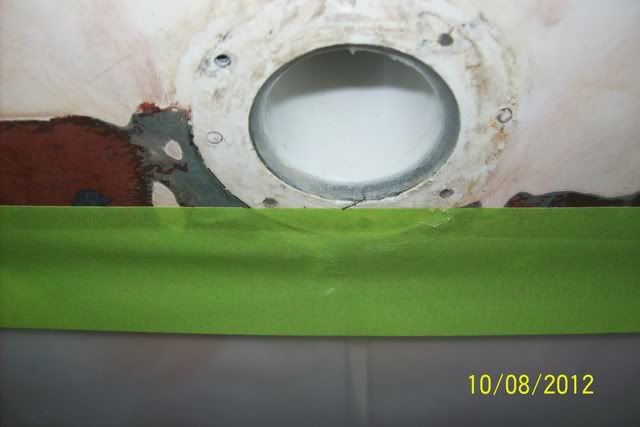
Lets see....I ordered 2 - 316 Stainless 1 1/8in 90deg thru hull fittings and a 3/4in straight one for the front bilge pump discharge. I'll be adding a 2nd rear bilge pump [2000GPH] and High water alarm also.
All plastic thru hulls will go in the garbage.

got_em_on":259y3qfi said:Anybody know if Lenco makes a switch like that or if I can use that one on lenco Tabs? I like the light indicators on the side.
Enter your email address to join: