Pricey was somewhere around $340 for the part. I found some online sources for less, but wasn't sure about the size and fit. I figured by the time I added shipping (it is heavy!), and possibly having to return ship if I needed something else - I was better off paying a little premium and getting it as a special order at my local Westmarine.
As for step-by-step install. It was pretty straightforward.
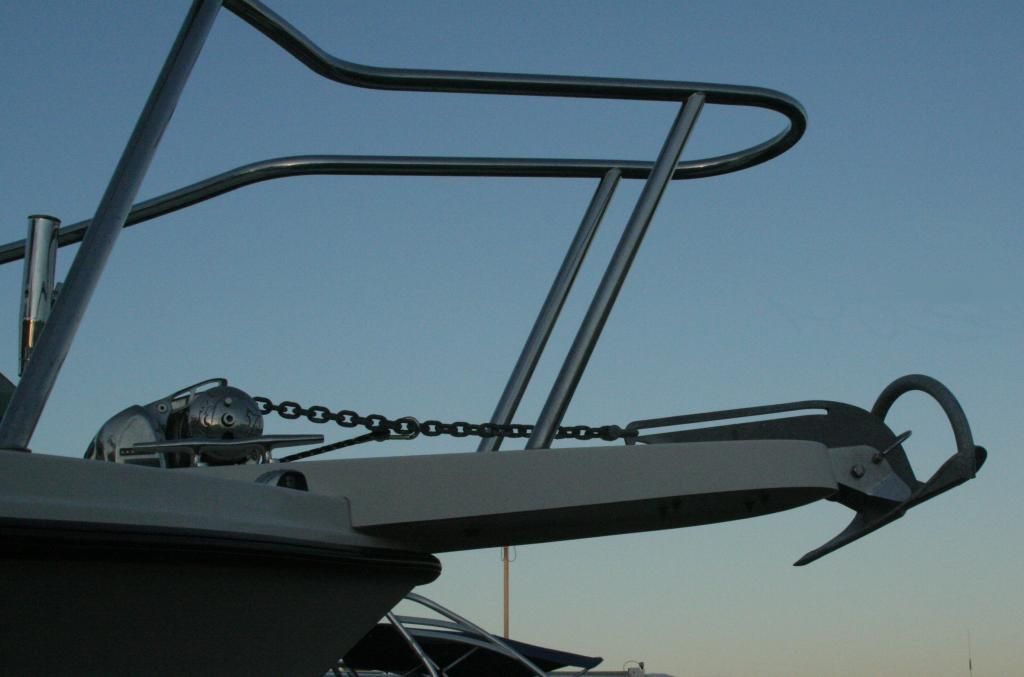
I) Out with the old:
The old roller pulled off after administering some "love taps" and a little coaxing.
Clean up the mess left behind with mineral spirits to remove old caulk, then very light sanding and acetone to prep a new, clean surface.
Run a drill through the 4 old holes to make a fresh surface.
Treat the old holes with straight epoxy+hardener, let partially set, then fill with epoxy+hardener+filler (I used 406 Colloidal Silica mixed to peanut butter consistency).
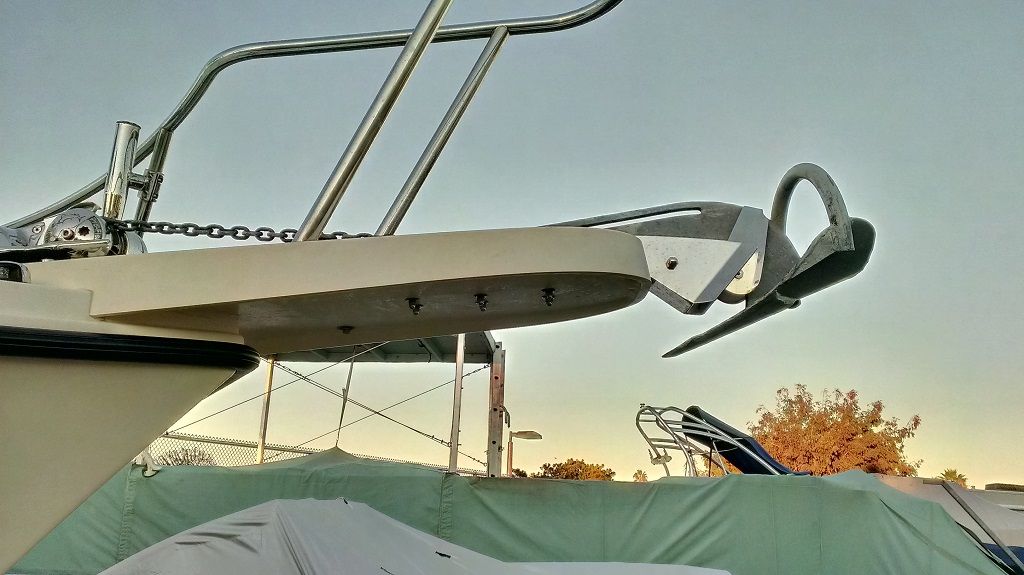
II) In with the new
Drill 6 new holes, slightly oversized, then treat holes with straight expoxy+hardener.
Let set then run a right-size drill through.
Apply a new external finish with sanding, acetone, and 1-2 coats of Parker factory external gelcoat.
After your new finish sets, test fit your 6 through-bolts and hardware. You may have to trim the bolts a little, each pair from bow towards stern needs to be progressively longer. Cap each bolt by stacking 2-3 flat washers large to small, then lockwasher, then acorn nut.
Before final fit and install, cover the bottom of the anchor roller and all through holes with a coat of silicone or _mildly_ adhesive silicone caulk. (You're just looking to make everything water tight, the through-bolts are plenty strong for holding the roller in place. Don't go crazy and use 4200 or 5200 - with that strong an adhesive over that much surface area, you'll probably never be able to remove the roller again without damaging your pulpit!)
After setting the roller and hardware in place, only gently tighten the acorn nuts.
Let the caulk set, then tighten to proper torque.
Bonus project:
While I was mucking about with the ground tackle and epoxy, I noticed the original installer of my windlass drilled a very large and neat hole through my deck to serve as the hawsepipe -- but leaving bare wood exposed!
Fortunately, the wood there is very dense and was still in good shape. I roughed the surface with a rasp, treated with straight epoxy+hardener, then applied woven fiberglass tape, followed by more epoxy; fully glassing the sides of the hole.