RaginCajun
Active member
Dive Ladder install (adventures in 5200)
I finally got around to installing my dive platform and ladder. The install went rather well due in part to the good nuggets of advice I gleaned from this and other sites. The boat is a new to me 2330 Pilothouse. The swim/dive platform was a custom one made by Doug Zelin at Waterway Marine in Port St. Lucie, the ladder is an Armstrong 4 step swing ladder.
Doug was fantastic, a true craftsman and more than kind especially since it's difficult when and engineer tries to explain to a welder how to build something (read...dumb engineer didn't know his brass from a hole in the ground when it comes to fab). And to boot he did this remotely via phone & email. Can't say enough about his work check out his ebay store or PM me for his contact info.
I picked up the ladder at Crook & Crook online for a good price (~$225). All in with shipping etc, I'm over $600 but I'm happy with the way it turned out. I feel I was able to maximize the available transom space.
The learning for me was working with 5200. This stuff is sticky, gooey and gets everywhere if you're not careful. Another challenge was simply drilling & screwing in the bolts screws. I'm sure there was a better way to get a more perpendicular angle but I wasn't able to do so and ended up putting in some with some angle to them. Also, I did this totally alone without help from anyone (the install that is), so I was pleased with my clever strap.
The top mounts are through bolted with 1/4" x 3" and for the bottom I used 14x2" screws. Use of 5200 was liberal and that's where the mess came in....but have no fear; WD 40 is your friend. This stuff did a fantastic job of cleaning up all of the stray 5200. Although I painstakingly removed as much as I could with a razor blade as a squeegee I would have been equally effective just wiping up with a paper towel and dousing everything in WD-40 and wiping up.
So far so good, have yet to dive with it yet and after I do I may reconsider the angle of the mount which could be tweaked easily with a spacer of some sort.
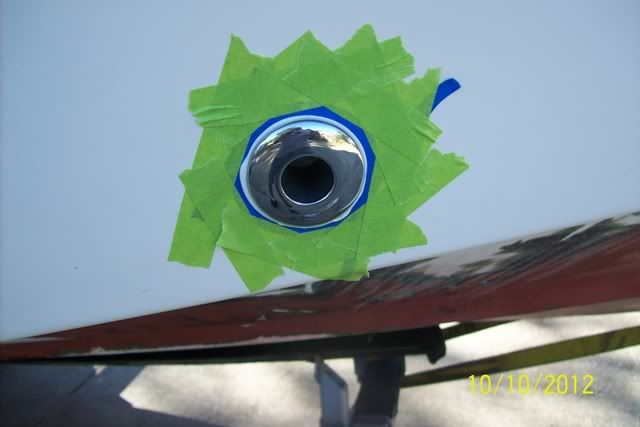
Here are a few photos.


