gw204
Well-known member
Just a little reassurance for those of you that are hesitant to work with epoxy, glass and gelcoat. It really ain't as bad as it seeems.... 
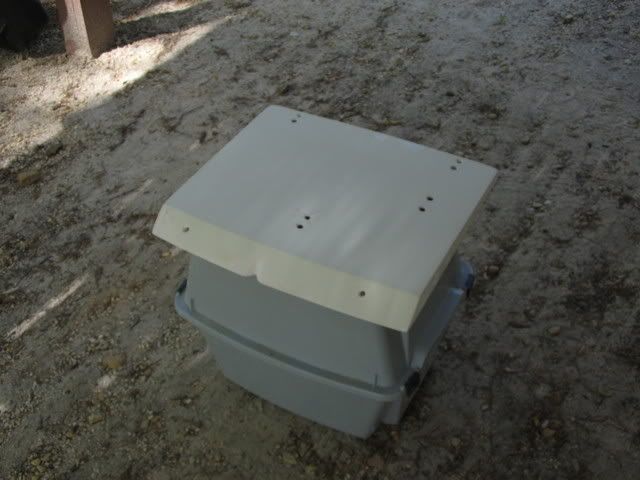
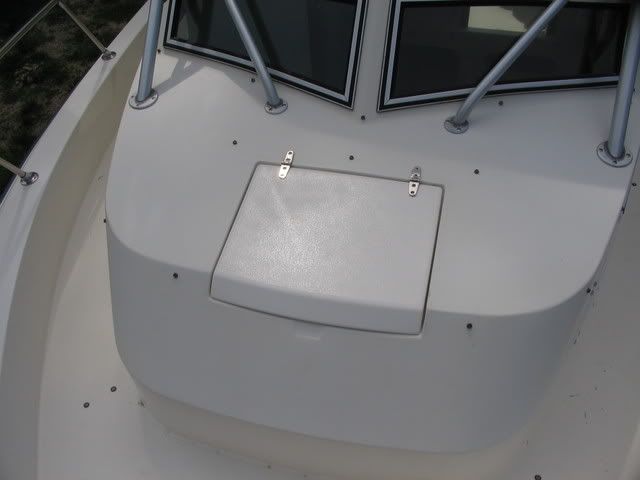
When I got my Sailfish nearly 2 years ago, there was some cracking and gelcoat chippipng on the front hatch. I dealt with it for about a year, but when I started having some leaking issues last season, I decided to take it off and address the problems once and for all. So, here goes....
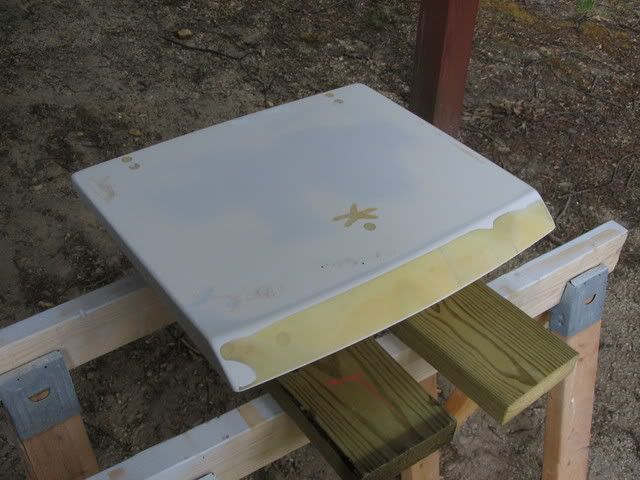
I'm missing some initial pics (I think they are on my PC at home) so we'll take a jumps forward. Here is the hatch with all holes drilled oversize, chipped areas ground out and everything filled with an epoxy/cabosil mix. There's also a bunch of the same mixture near the front. Honestly, I can't remember why I put that there (I did all this part last summer).
There was one crack on the front edge that was mostly visible from the top side. That was ground out and filled with epoxy/cabosil as well. Then I ground down the whole front edge and layed a few layers of 3/4 oz. mat and 6 oz. cloth to reinforce the area.
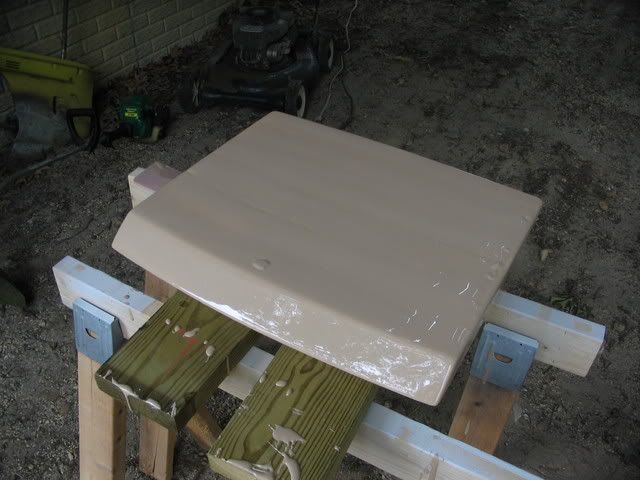
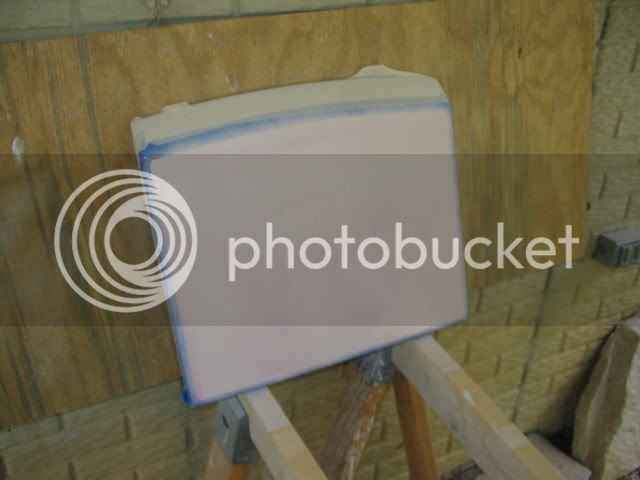
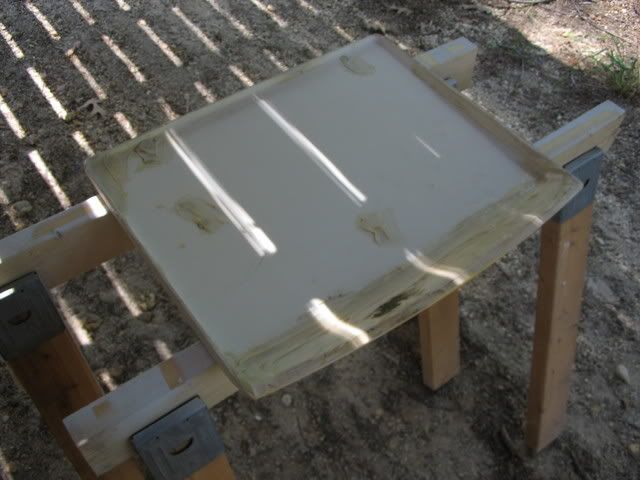
I then sanded everything flush and cleaned the hatch in preparation for application of gelcoat. NOTE: Do not use epoxy/cabosil for a fairing compound...especially in hard to sand areas. It's a pain to get shaped right... It's not perfect, but it'll do.

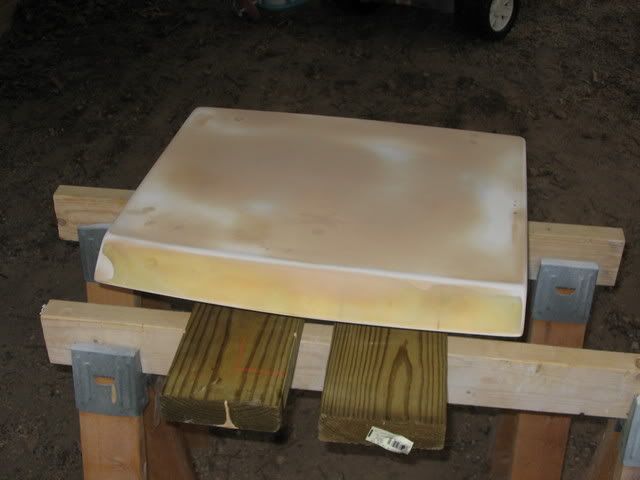
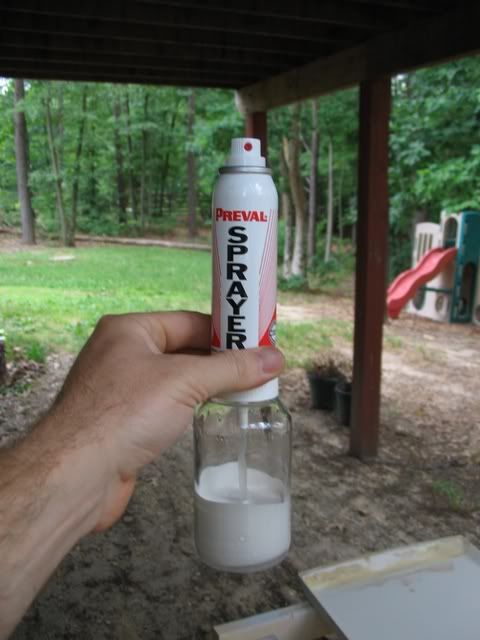
Gelcoat color matched, thinned, catalyzed and ready for spraying.
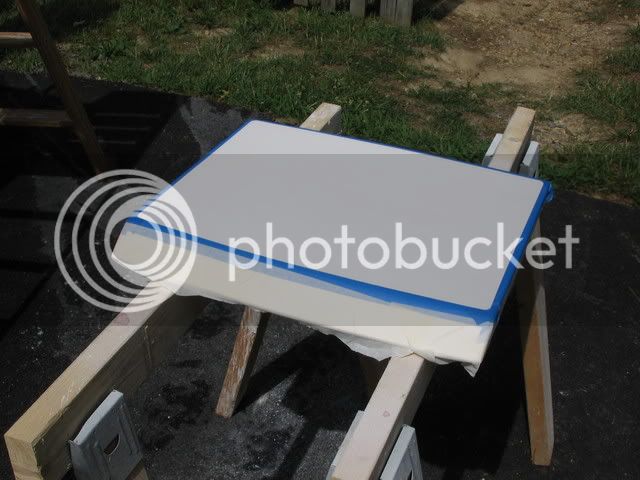
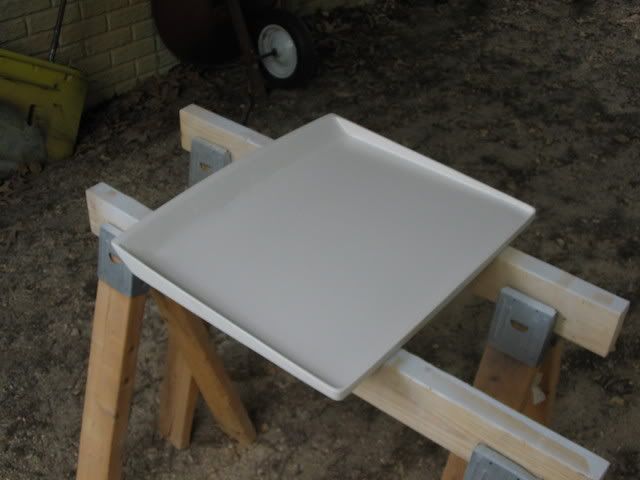
Spraying complete and awaiting application of PVA to ensure full cure.
The topside will be done this coming week/weekend.
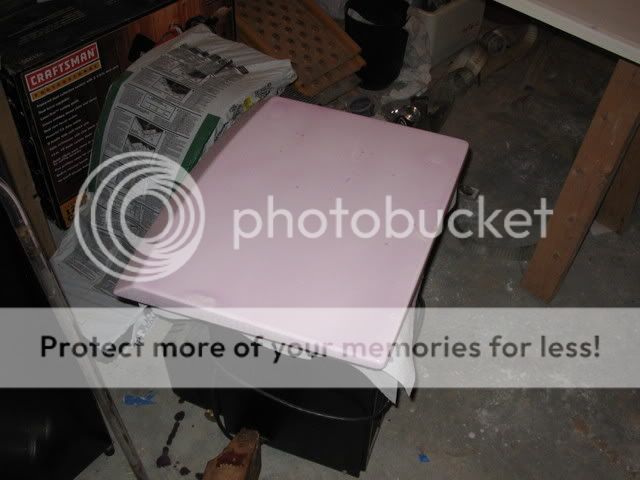
When I got my Sailfish nearly 2 years ago, there was some cracking and gelcoat chippipng on the front hatch. I dealt with it for about a year, but when I started having some leaking issues last season, I decided to take it off and address the problems once and for all. So, here goes....
I'm missing some initial pics (I think they are on my PC at home) so we'll take a jumps forward. Here is the hatch with all holes drilled oversize, chipped areas ground out and everything filled with an epoxy/cabosil mix. There's also a bunch of the same mixture near the front. Honestly, I can't remember why I put that there (I did all this part last summer).
There was one crack on the front edge that was mostly visible from the top side. That was ground out and filled with epoxy/cabosil as well. Then I ground down the whole front edge and layed a few layers of 3/4 oz. mat and 6 oz. cloth to reinforce the area.
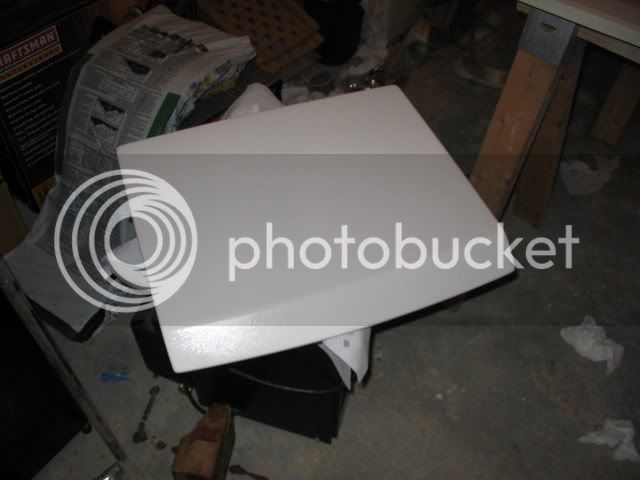
I then sanded everything flush and cleaned the hatch in preparation for application of gelcoat. NOTE: Do not use epoxy/cabosil for a fairing compound...especially in hard to sand areas. It's a pain to get shaped right...
It's not perfect, but it'll do.
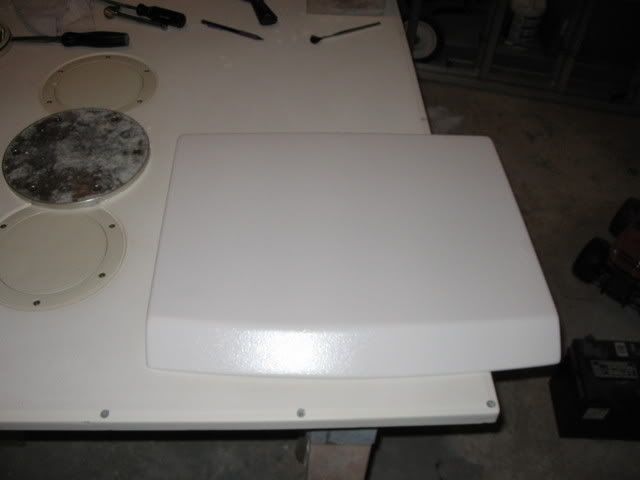
Gelcoat color matched, thinned, catalyzed and ready for spraying.
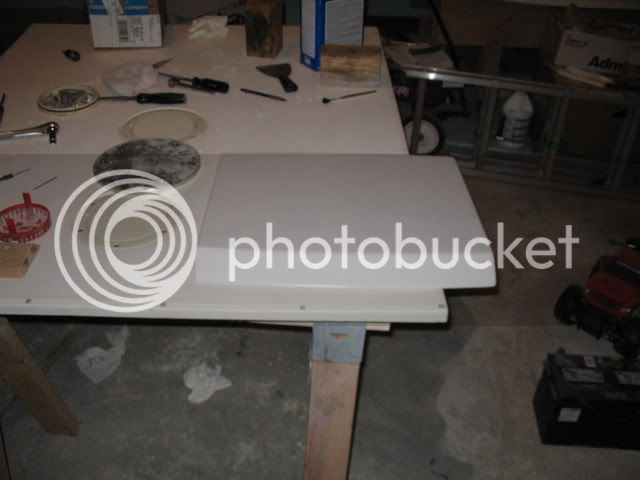
Spraying complete and awaiting application of PVA to ensure full cure.
The topside will be done this coming week/weekend.