Upgrades

Classic Parker Boat Forum

Help Support Classic Parker Boat Forum:

This site may earn a commission from merchant affiliate links, including eBay, Amazon, and others.

THEGAME

Well-known member
Joined
Dec 13, 2008
Messages
200
Reaction score
1
Location
staten island ny
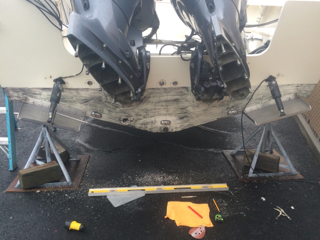
I finally got new trim tabs 12x18
3 led under water lights
Having lower units redone.
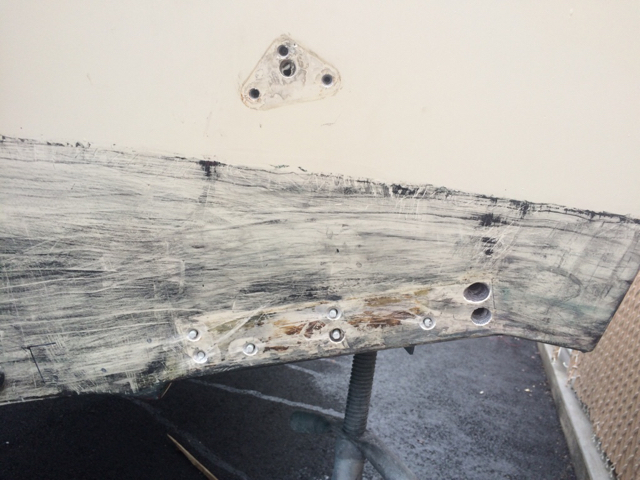
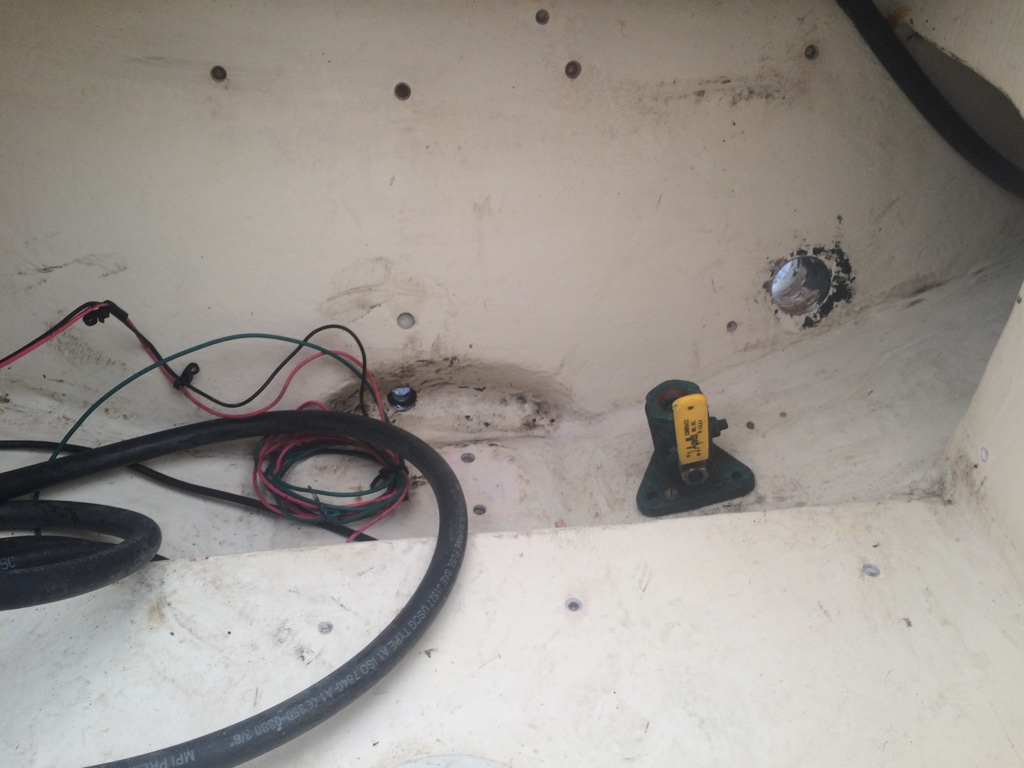
Now I don't get why Parker installs so much hardwear under water without any apoxy wen I removed old tabs all the screw holes were wet . The scoopers need to be fixed .plastic thur hull drain for live-well And car crimps that are all corroded
3834dc5ab134e14fa84fc110c3433731.jpg
e8278da79881b303927714997bb2f9aa.jpg
 
Looks good. At least you will know everything below the water line will be sealed correctly now. By the way, what model underwater lights did you use?
 
fill all the holes with epoxy found out theres a void between layers in the transom any one have this problem ?
 
Are you relocating actuators, if so how do you plan on covering existing openings? I am thinking of upgrading to 12"x18" I have a 2320 was wondering about access to wires since I have a built in transom cooler.
 
THEGAME":1njfl979 said:
fill all the holes with epoxy found out theres a void between layers in the transom any one have this problem ?

Yes, I noticed that too. Especially towards that last 1" before the bottom.
 

Attachments

  • image.jpeg
    image.jpeg
    110 KB
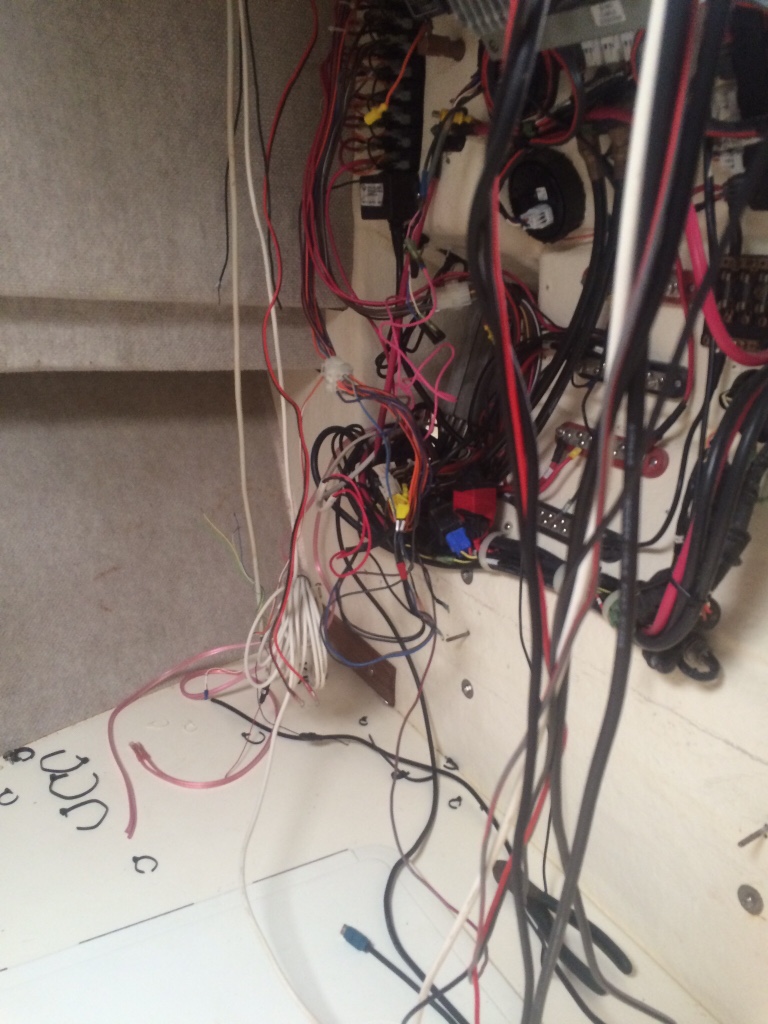
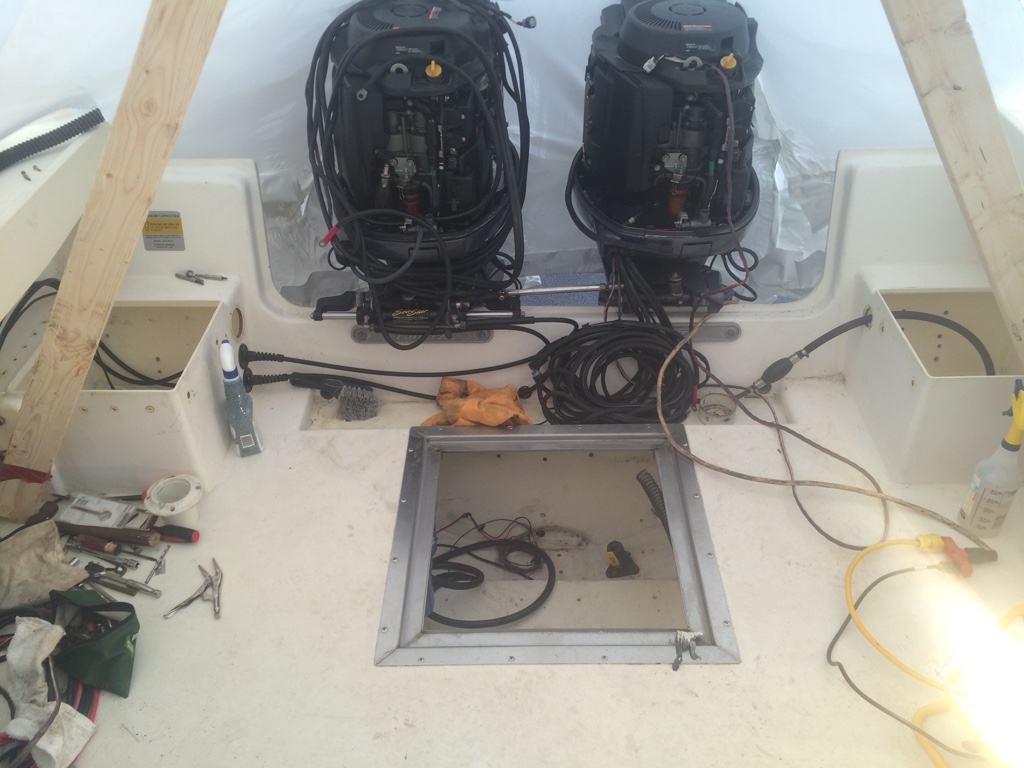
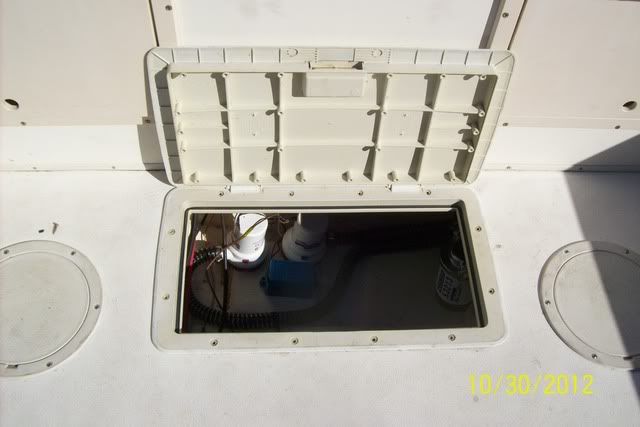
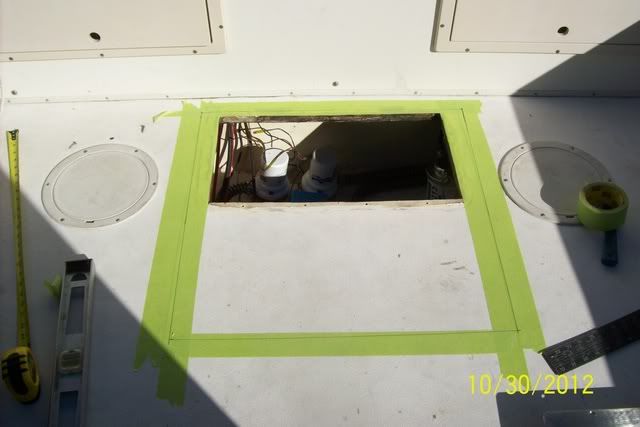
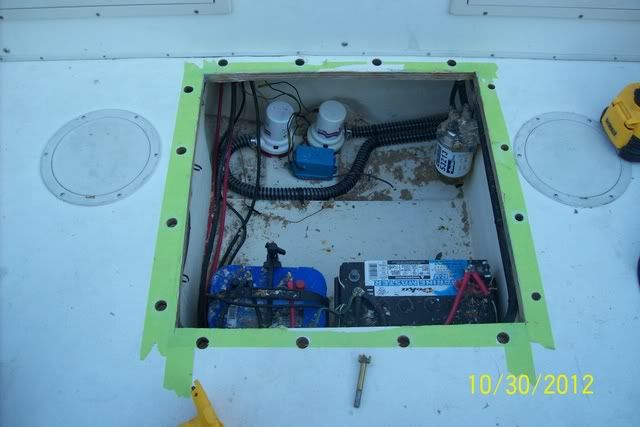
not to good with the posting and picture thing sorry guys I'm trying. this all started out buy wanting bigger tabs and under water lights ! than i stated looking at all wires stuffed in the starboard battery box . it was stuffed 3 battery switches 2 40a breakers yamaha bus rail for there wires and a 29r battery plus all rigging for both engines. so i doug in and pulled it all out i hard 2 24 group batteries in my bilge plus my battery charger 2 fuel filters , live well pump hoses and drains for it as well . port side box had a 29 group battery and my wash down pump. Now its all empty no wires batteries or pumps !! going to clean all 3 areas counter sink all screw holes and fill with epoxy took off the had rail on both boxes and I'm going to learn how to fill the holes in the battery boxes. i will than have 3 new clean canvas to work with. i also took off the back of my helm area to get in to that part of all my electrical found lots of lose connections so i pulled out the factory wires from the switch panel to the bilge it has to plugs in it one was bad and than a few crimps from install of all pumps

my new plan is to have one 4d house battery 2 staring batteries with a bep 3 battery bank cluster ( thanks to warthog5 )
all new wires and connections
starboard side battery box will only have the starboard motor wires and battery plus a JL audio 8.8 speaker in it bilge will have the new bep switches in there with the house battery and under water lights junction box live well pump and so on
port side box 1 starting battery and wires for that motor and a wash down pump plus speaker

wondering why parker spilt my switch panel into 2 parts and made it have 2 40a breakers?
going to run all new wires from switch to each pump or light no more breaks in the line
and just out right clean it all up so maybe it will look like a CABO wire job lol i hope also replacing all shifter and throttle cables
well i have lots to learn i never did and fiberglass work so we'll see

looking forward to seeing what all have to say thanks guys and ill post pics as i remember and work on it
 
http://www.seastarsolutions.com/product ... me-cables/

I'm not sure about Yamaha....... Suzuki now uses rebadged Teleflex X-Treame cables. I believe Honda does now too.

Get the good stuff they will turn in a tighter radius and still slide like butter.

It's the only sensible replacement. But I have been getting real good reports as of late about Glendearing cables...... I have not used them.
 
9b5f1483576206fb666ed76394e8338d.jpg


bd8cd2ad07aa5cb241290b789656e37a.jpg


5774bcd597917ca7605c9f414b01d112.jpg


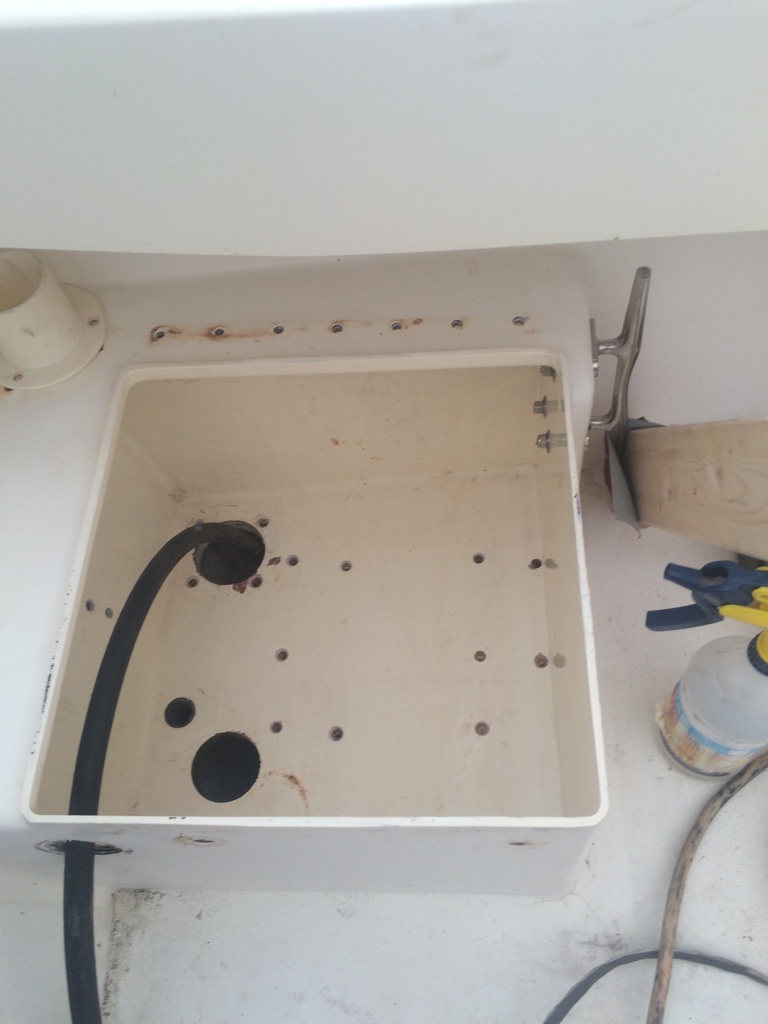
Today I Cleaned up battery boxes and. Bilge Drilled out and open up all the screw holes.. next week I will apoxy all holes into those areas

Than I will look into how to fill the 1/2 inch holes from the grab rails in the boxes ?
 
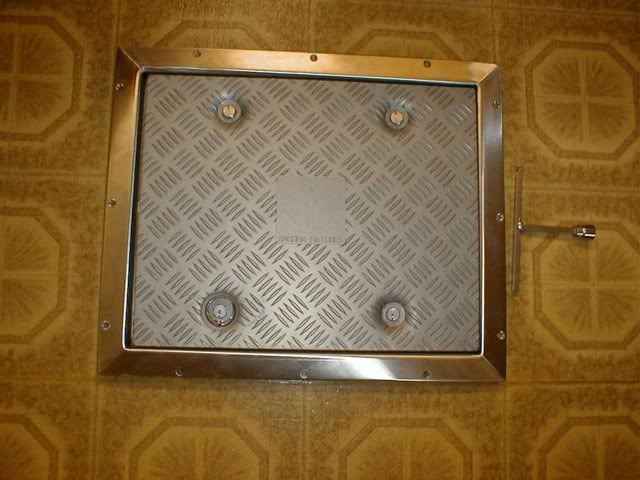
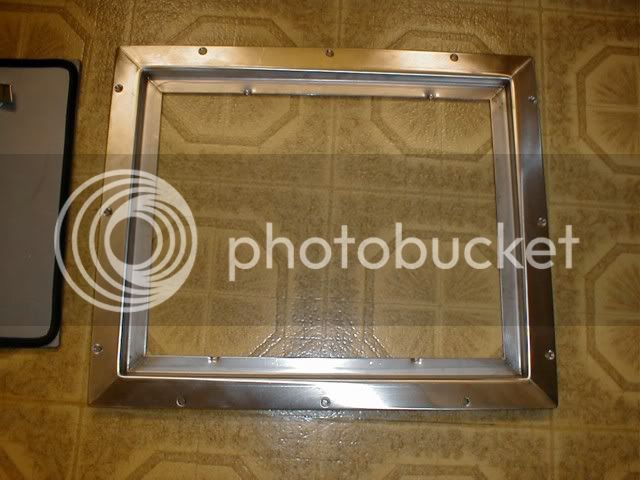
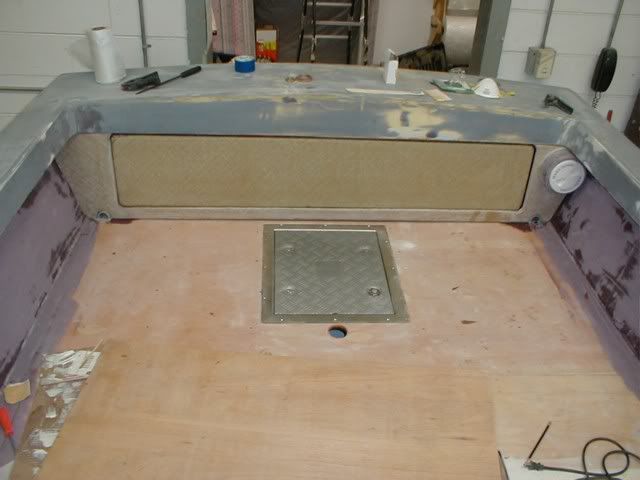
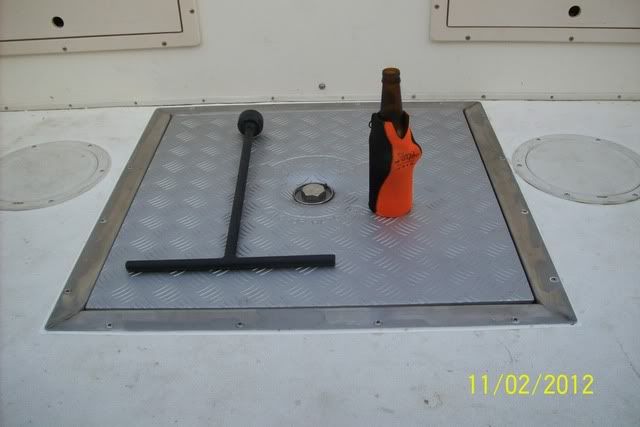
I like the big rear hatch you started. Did you bend that metal yourself? I have some stainless angle and was going to weld up something similar.

Nice work sealing also. Parkers will last forever if you keep the wood dry. Too bad most owners are oblivious to the fact untill its too late.

I have some nice 2" fiberglass pipe that I am going replace my scuppers with. It should bond great to the existing transom glass. If you want any let me know.
 
hey fisheron i bought the hatch from hamilton marine yes it time to seal and do things wright and I'm learn as i go thanks to the guys on classic Parker
 
I like the big rear hatch you started. Did you bend that metal yourself? I have some stainless angle and was going to weld up something similar.

HaHa..... Good luck with that unless you have access to a VERY large Press Brake.

I started that with installing one in my Mako.

P1010177.jpg


P1010176.jpg


Filler10.jpg


Parker

100_4319.jpg


You can see how Much more access and ease of maintenance you have.


100_4321.jpg


100_4325.jpg


100_4331.jpg
 
Got a whole machine shop I can use. But It will be much faster just to weld one up out of angle. Wish I could find some stainless diamond plate for the hatch cover, that would get some looks.
 
Back
Top