ktomlinson
Well-known member
I've wanted a windlass since I bought the boat. I looked at all of the windlass install threads on here and some on another boating forum, but still wasn't sure how I would end up installing mine. I decided to get the supplies and just go for it.
First, we removed the existing anchor locker so that we would have easy access to the flat parts under the deck. We used a grinder to smooth the underside of the deck so that the aluminum backing plate would lay flat and make full contact.
Before:


After :

The windlass manual said that deck needed to be at least 1" thick to take the stress of mounting a windlass. The Parker deck was 1 1/2" thick. First we cut two pieces of 3/4" plywood and cut them to fit the hole we just made. After we cut them we glued and clamped them.

Next we cut the piece that will be on top of the deck.

And then glued those two pieces together.

We used the template that came with the windlass and cut the mounting holes, 3" hole and power cable hole. After that my dad encapsulated the entire thing in fiberglass and used Parker gel coat to cover it. After the first coat with a brush we decided it would be better to use a roller. We switched and used rollers to finish the job. We put on 5 coats of gel, with light sanding between each coat and for the last coat we left the roller marks in it to look similar to the no skid.

We were originally going to use a piece of encapsulated plywood as the backing, but my dad came up with the idea to use a frame built out of aluminum angle.
I don't have pictures of us building the aluminum underside, but you can get a good idea from the picture.

The final result.

A few notes:
We used 500' of 8 plait rode with 30' of 1/4" chain. It soaked in fresh water for a week before loading it.
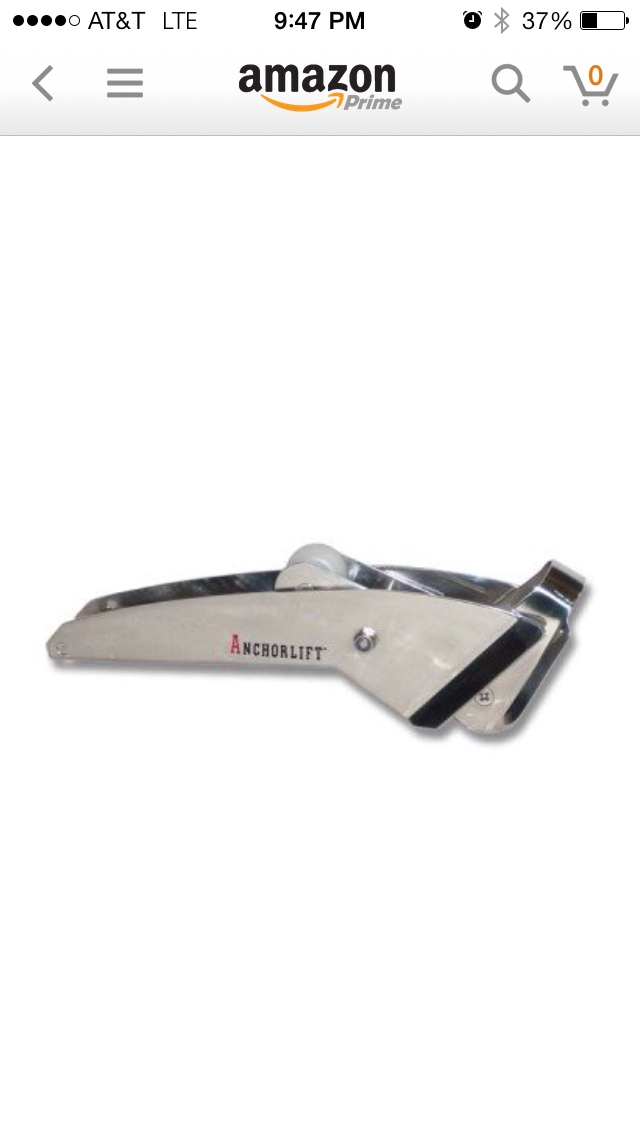
We installed a new anchor roller, one that hinges so the anchor drops when the switch is activated.
The chain doesn't touch the gel when it is pulled tight, but I am sure it will ding it along and along if I don't protect it now. I plan on installing a strip of rubber under the chain to protect my gel.
Make sure to secure the wiring so that it doesn't get hung on the rode. I was able to do it with zip ties by attaching it to a piece of aluminum Parker used to secure the cuddy wall.
We wired it to one of the starting batteries since the motor will always be on when its in use. We are using the circuit breaker that came with the unit to cut power when not in use.
We used a very strong bungee and a stainless steel bolt snap attached to a cleat as the anchor stop.
If anyone has any questions on something I didn't cover let me know.
First, we removed the existing anchor locker so that we would have easy access to the flat parts under the deck. We used a grinder to smooth the underside of the deck so that the aluminum backing plate would lay flat and make full contact.
Before:
After :
The windlass manual said that deck needed to be at least 1" thick to take the stress of mounting a windlass. The Parker deck was 1 1/2" thick. First we cut two pieces of 3/4" plywood and cut them to fit the hole we just made. After we cut them we glued and clamped them.
Next we cut the piece that will be on top of the deck.
And then glued those two pieces together.
We used the template that came with the windlass and cut the mounting holes, 3" hole and power cable hole. After that my dad encapsulated the entire thing in fiberglass and used Parker gel coat to cover it. After the first coat with a brush we decided it would be better to use a roller. We switched and used rollers to finish the job. We put on 5 coats of gel, with light sanding between each coat and for the last coat we left the roller marks in it to look similar to the no skid.
We were originally going to use a piece of encapsulated plywood as the backing, but my dad came up with the idea to use a frame built out of aluminum angle.
I don't have pictures of us building the aluminum underside, but you can get a good idea from the picture.
The final result.
A few notes:
We used 500' of 8 plait rode with 30' of 1/4" chain. It soaked in fresh water for a week before loading it.
We installed a new anchor roller, one that hinges so the anchor drops when the switch is activated.
The chain doesn't touch the gel when it is pulled tight, but I am sure it will ding it along and along if I don't protect it now. I plan on installing a strip of rubber under the chain to protect my gel.
Make sure to secure the wiring so that it doesn't get hung on the rode. I was able to do it with zip ties by attaching it to a piece of aluminum Parker used to secure the cuddy wall.
We wired it to one of the starting batteries since the motor will always be on when its in use. We are using the circuit breaker that came with the unit to cut power when not in use.
We used a very strong bungee and a stainless steel bolt snap attached to a cleat as the anchor stop.
If anyone has any questions on something I didn't cover let me know.