gw204
Well-known member
I've been pricing trailer and it looks like most are coming in at at least $1600 before tax and tags. That's more than I care to spend so I'm going to repair the existing one.
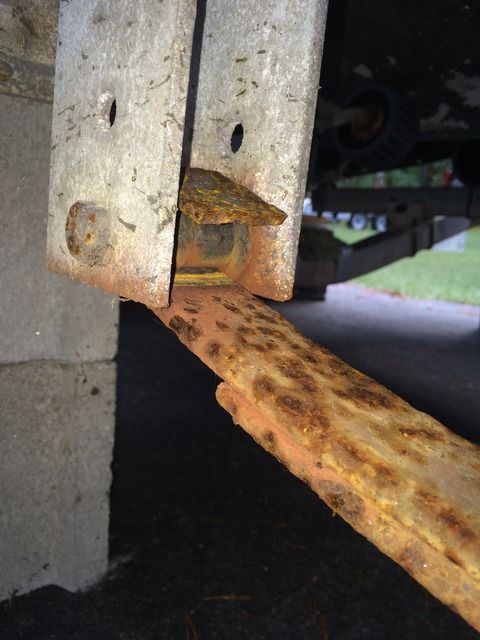
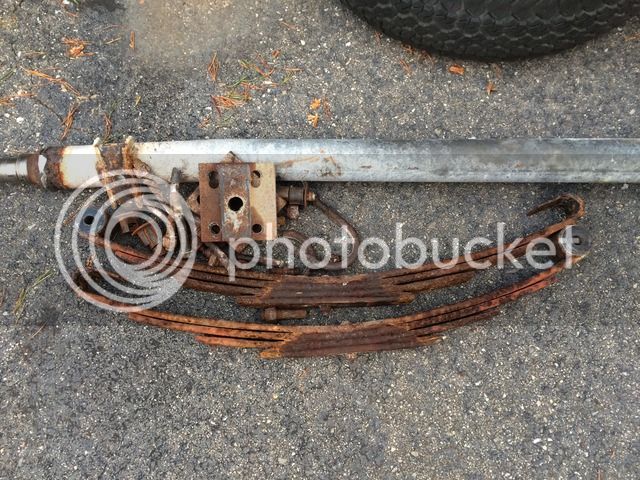
As of yesterday afternoon, the plan was to do a quick fix so I can get it back on the road for the fall fishing season. So I set out to grind off what was left of the brake mounting flanges and get to clean metal that I could cold galvanize. That didn't work out as planned. Taking it down so things were flush resulted in me exposing the joint where the spindle met the axle tube. Crap. Time to replace the axle. So, off it came...
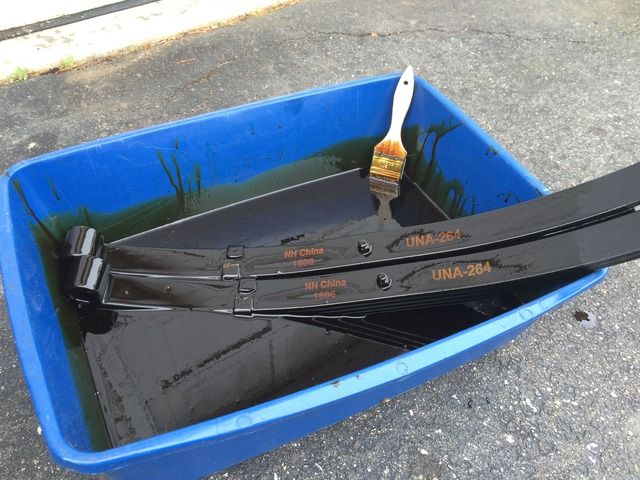
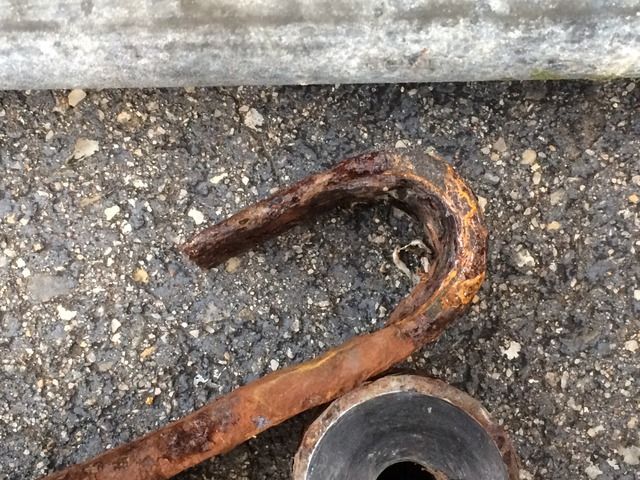
Once that was out of the way, I got a closer look at the springs. They looked a little thin at the top of the rear loops.
So they came off too and went into the scrap pile.
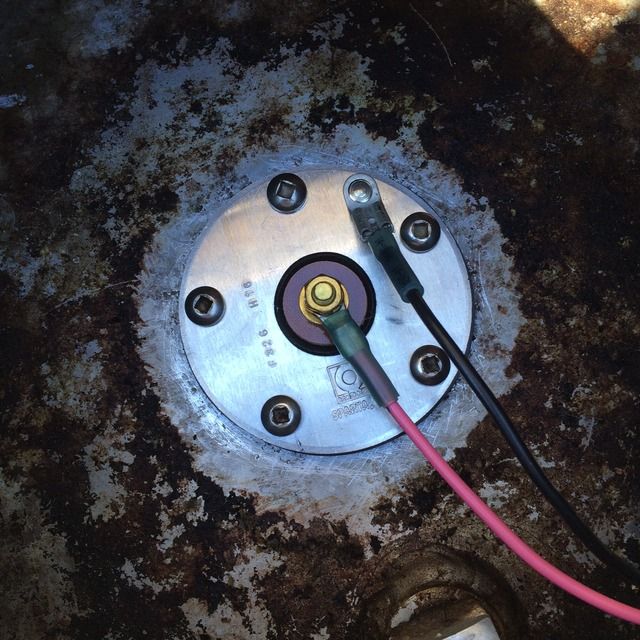
That axle uses the old style sure lube system where the grease goes in through a zerk in the cap and then flows out through the back of the spindle itself. In this case, the excess just ends up inside the axle tube....which seems stupid to me. So, I'm going to try and get an axle with the new style posi lube spindles/hubs this time around. That being said, the only once I've seen with the dimensions I need has a 2" drop at the spindles. This may require that I move to spring over, instead of spring under and I'm not sure if that's ok or not.
As of yesterday afternoon, the plan was to do a quick fix so I can get it back on the road for the fall fishing season. So I set out to grind off what was left of the brake mounting flanges and get to clean metal that I could cold galvanize. That didn't work out as planned. Taking it down so things were flush resulted in me exposing the joint where the spindle met the axle tube. Crap. Time to replace the axle. So, off it came...
Once that was out of the way, I got a closer look at the springs. They looked a little thin at the top of the rear loops.
So they came off too and went into the scrap pile.
That axle uses the old style sure lube system where the grease goes in through a zerk in the cap and then flows out through the back of the spindle itself. In this case, the excess just ends up inside the axle tube....which seems stupid to me. So, I'm going to try and get an axle with the new style posi lube spindles/hubs this time around. That being said, the only once I've seen with the dimensions I need has a 2" drop at the spindles. This may require that I move to spring over, instead of spring under and I'm not sure if that's ok or not.