Mounting hardware for Lee Jr Wishbone Outriggers

Classic Parker Boat Forum

Help Support Classic Parker Boat Forum:

This site may earn a commission from merchant affiliate links, including eBay, Amazon, and others.

Megabyte

Well-known member
Joined
Feb 16, 2006
Messages
10,553
Reaction score
11
Location
Lewes, DE
I finally scored a set of Lee Jr Wishbone Outrigger holders (model number OH226S), and I need a little help prepping for mounting. 8)
The outriggers will be going on my 2520 MVSC and I need to assemble my hardware before attempting installation.

I saw a 2820 for sale recently and snapped this shot to give me an idea of the mounting position, and the angle involved.

IMG_0293.JPG


For anyone who has done this install, can you give me an idea of the length of the mounting bolts you used? At 12 bolts per side, I don't want to have to buy an assortment of lengths just to find the right one.

Also, for anyone who bought these holders new, did they come from the factory with backing plates, or did you use fender washers on the back side?

Finally... any installation tips anyone can give would be appreciated. I downloaded the .pdf from Lee showing dimensions and approximate angles, but you don't have to be too far off on your angle when your rigger poles are 19' out in space for it to look bad. :shock:

Any tips will be appreciated. :)
 
Capt. Kevin

I cant add any advice but I have been thinking of installing them on my boat as well. I saw this boat which is a 2520 with them installed. It may be a different view for you since your picture was a 2820. If possible could you do a start to finish pictorial of your project for all to see.

Good Luck!
 

Attachments

  • 93764841_11thumb_550x410.jpg
    93764841_11thumb_550x410.jpg
    19.3 KB · Views: 2,538
Good photo Catfish. Thanks!

If you notice where the wishbones are mounted on the 2820, it causes the rigger poles to lay past the trailing edge of the roof, which I would like to avoid if possible.

In your photo, the wishbones are mounted forward of the logo which should correct the condition seen on the 2820.

What I don't want to have happen is for the rigger poles to hit the bow railing, so I have to be careful how far forward I mount them. I also want to make sure that I don't mount the assembly so forward as to make it difficult to connect my lines to the release clips.

Any idea how thick the cabin wall is so I can estimate my hardware length?

Edit: Yes... when I do this project, I intend to document everything and post it to the Projects section for the Parker knowledge base. :wink:
 
Good Choice!

There were no backing plates when I bought mine new. I cut out of a piece of Starboard. I wasn't worried about the way it looked or how long the bolts were because they are hidden behind the seats..

Here is a general rule of thumb for the angle the outriggers should be mounted: When deployed, the tip of the outrigger should be be even with the stern. For example.... if they were mounted straight up and down they would deploy with tips midship... this would give the max spread but the lines would not be easy to manage and as the boat wallows in the waves trolling action would be uneven.

Now if I can only get out to use them.... the wind is blowing today and rain is predicted for tomorrow....

I'm sure you will measure 20 times, cut once!
 
esfishdoc":10o2ulba said:
Here is a general rule of thumb for the angle the outriggers should be mounted: When deployed, the tip of the outrigger should be be even with the stern. For example.... if they were mounted straight up and down they would deploy with tips midship... this would give the max spread but the lines would not be easy to manage and as the boat wallows in the waves trolling action would be uneven.

Ahhhhhhh.... Makes sense.

My challange is that my boat is in the water, and I have a sailboat in the slips on either side of me. :roll:
I'll figure it out, and yes... I'll probably be measuring more than 20 times. :)

Do you have a photo showing the position and angle of your bases?
 
Don't worry too much about the length of your mounting bolts. If you have wood coring in the sides of your PH you will want to drill all the holes oversize so you can backfill with thickened epoxy before drilling your permanent holes anyway. So, just measure the thickness when you drill those first holes and then run to the hardware store. Get them long enough so once they are installed with the base, backing plates or fender washers, lock washers and regular nuts there is enough thread left over to put a cap nut on. If you're still unsure about the lenght just get ones that you know are too long and then cut them to size once installed.

As for the angle, match your rocket launchers if that will allow for proper placement of the tips. If the two don't go hand in hand, and you would rather have the angle, you can always use tag lines to get your clips in the proper position.

If you can wait a few more weeks for me to get my rig done and splashed, I can bring my trailer up so we can pull the boat and do the job at your house. Be glad to help out...
 
gw204":n47bqttl said:
If you can wait a few more weeks for me to get my rig done and splashed, I can bring my trailer up so we can pull the boat and do the job at your house. Be glad to help out...

I took the whole week off after the July 4th holiday. Does that work for you?
We could do it any day that week, and I might even have a cold barley-pop or two in the fridge just in case it's a hot day. :D
 
I installed my 2 years ago. I believe i used 1.5" or 1.75" bolts, fender washers a nut and nut cap.

I installed the first one and then took some measurment and then installed the second.

They came out nice.
 

Attachments

  • 61607 002 (Medium).jpg
    61607 002 (Medium).jpg
    52.8 KB · Views: 2,374
zebpwgc":286o3rs4 said:
I installed my 2 years ago. I believe i used 1.5" or 1.75" bolts, fender washers a nut and nut cap.
I installed the first one and then took some measurment and then installed the second.
They came out nice.

I agree, they do look great. 8)

I like the position of the poles being about even with the trailing edge of the roof.
Thanks for the photo. The position of the base in relation to the pinstripe and the logo gives me a great starting point. :wink:

I take it those are 19' poles that have been double-rigged?
 
I spent about 4 hours yesterday with a can of automotive polishing compound and a can of automotive wax getting my new-to-me rigger bases clean and ready to go.
Those are my brand new 19' poles in the background still wrapped...

Photo%20Library%20-%20281.JPG


Looking at the stop collar, I assembled the parts into what I thought was the way they should look.
Not certain what the eye is used for on the stop collar, but many of the photos showed it facing the same side as the release latch.
I did discover that the previous owner of these bases had the stop collar of one set at 4" and the other at 4.5"
I'm pretty sure that I'll have to re-adjust mine for the boat, so I didn't mess with them for now.

Photo%20Library%20-%20285.JPG


Today I was making a hardware list so I could go buy what I needed.
Not sure what diameter the screws need to be. I'll have to take one of the bases with me to match up the size.

What I did notice that I did not see yesterday was that I had the main tube improperly indexed. I was focusing so much on the stop collar that I missed this most vital item! :shock:

It was only after reviewing the .pdf file on Lees web site that I noticed my error.
http://www.leetackle.com/junior.pdf

This is how they are supposed to look.

Photo%20Library%20-%20287.JPG


Since I bought these bases used, I have no installation instructions... so I'm using photographs of other boats and Lee's online docs to guide me.

If anyone can tell me how the stop collar is supposed to be indexed and how the eye portion is used, I'd appreciate the insight.
Installation is planned for sometime during the week after the 4th. :)
 
We had those same bases on my fathers 30 chris-craft tournament.

We use to use the rings on the stop collar to run the lines forward when not in use. I have also seen it rigged with a small line to assist in deploying and retrieving the riggers from a flybridge but found it easier to not bother with that for the small bases.

As far as the stop collar, you want the riggers to be about 40 degrees or so off the surface of the water. If you put them to close to parallel to the water the tips will dip and you'll bend the riggers in rough seas.

Did you get the hooks to mount so you can lean them back to go under a bridge?? Not really needed but nice to have.

That is just my observations on using outriggers on various boats, hope it helps.

Nice project.
 
Bryan 2530":3vn5c7we said:
Did you get the hooks to mount so you can lean them back to go under a bridge?? Not really needed but nice to have.

I did not, but I figured that I'd lay the poles down on the top of the transom for the occasional bridge clearance.
It's going to be a learning experience. :)
 
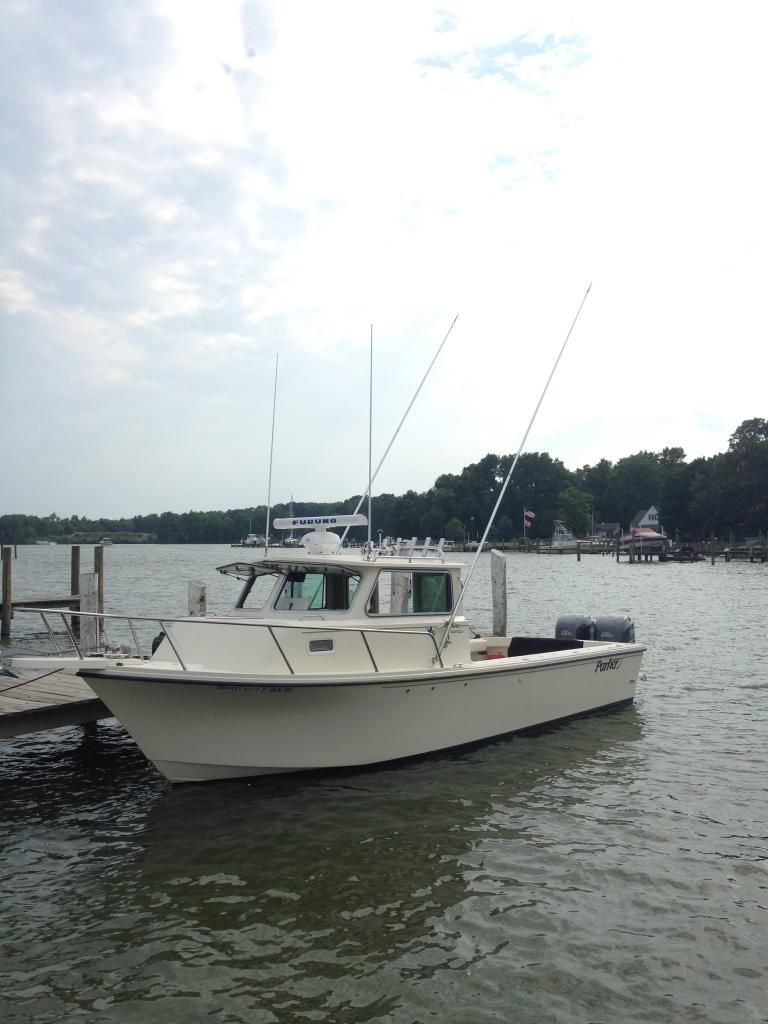
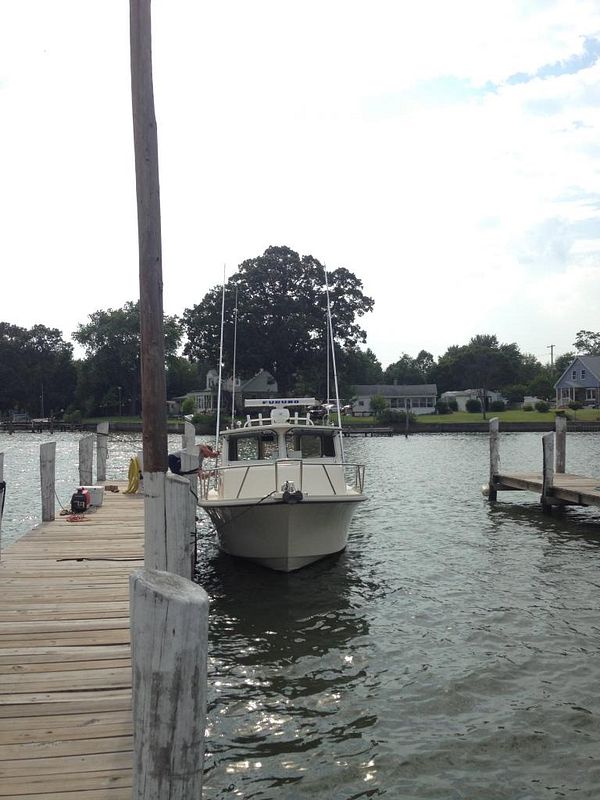
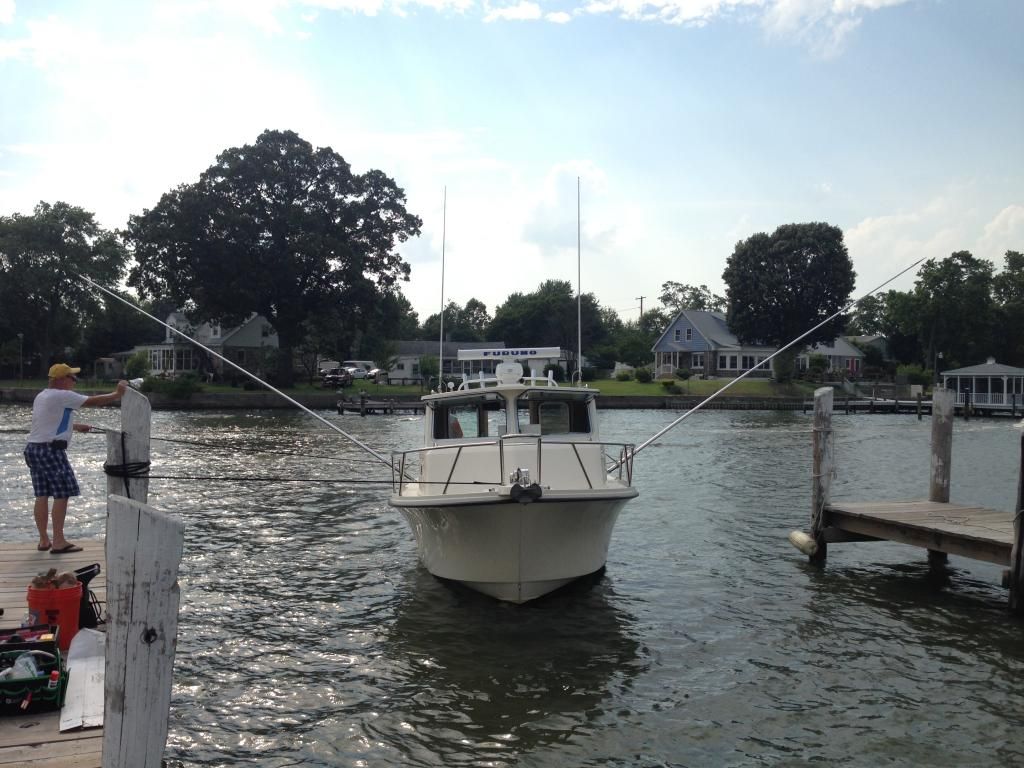
I wanted to revive this old thread since it was quite helpful during our install of wisbone riggers on our 2008 2820 this weekend.

We would have liked to have gone with a set of the Lee Jr wishbone bases (they seem to have a better reputation than Tigress), however I was able to score a set new Tigress wishbones for $350 on another forum. We paired the bases with a set of Lee AP3519XS (19ft, Extra stiff poles).

We mounted ours just like zebpwgc and used 1/4" thick, ~3" diameter, stainless backing plates to beef up the mounting points. However, even with these backing plates, we noticed significant flex in the cabin wall when pushing on the end of the rigger pole, it was more flex than we were comfortable with. In order to beef it up further, we are going to install a 24" x 19" piece of starboard to act as one large backing plate that ties all three mounting points together.

Zeb, if you are still active on this forum, did you notice this flex that i'm referring to? I would think that if you used fender washers you would have as much or more. What year was your boat? Maybe the cabin walls are thinner on our 2008...


I'll post up more photos of backing plates and mounting once we're finished. For now this is how they turned out:


When I mounted my Lee Jr's, I used 1/8" stainless backing plates that were polished to a mirror finish.
The plates were made by a local fabrication shop with the tools needed to punch stainless this thick.

On the outside of the cabin, starboard was used to keep the bases vertical since the cabin walls have a slight taper to them.
Finally, I used the exact same 19' polished poles you selected, and had a friend double rig them with custom rigging of his design.
Photos attached.

Been using them now for a couple of seasons and love them. 8)
 

Attachments

  • 001backing plates.jpg
    001backing plates.jpg
    324.2 KB · Views: 1,210
  • 002backing plate.jpg
    002backing plate.jpg
    231.2 KB · Views: 1,209
  • 003outside.jpg
    003outside.jpg
    1.1 MB · Views: 1,211
  • 004outside.jpg
    004outside.jpg
    394.5 KB · Views: 11
  • 005double rig.jpg
    005double rig.jpg
    918.9 KB · Views: 1,210
  • 006outside.jpg
    006outside.jpg
    439.2 KB · Views: 11
  • 007boat.jpg
    007boat.jpg
    2.7 MB · Views: 1,210
Kevin, your install looks great. I consulted your multiple posts regarding installation before performing ours. As such, we took the same approach; stainless backing plates very similar to yours, and exterior starboard spacers for proper stowed geometry.

However, presumably given the forward mounting location of our bases (your wishbones are mounted towards the rear of the cabin near the sternwall, whereas ours are mounted much further forward), our mounting appears to lack the necessary support. Do you happen to recall the thickness of your cabin walls when you drilled them?

Have you noticed any flex in the cabin wall under rough conditions or dragging large baits? I would love to hear from zeb since his mounting is basically identical to ours.

Thanks again for the additional photos. I will post up final photos once we get the large starboard backing plate / reinforcement installed.
 
viper8":1yoqfbh3 said:
Have you noticed any flex in the cabin wall under rough conditions or dragging large baits?

No flex whatsoever.

One reason mine were mounted where they are was so that they would clear the hand rail in the deployed position.
I wish I had a photo of them deployed, but I'd estimate mine go to 65 to 70 degrees which is about as low as I can go without dragging the tips in the water as the boat oscillates in rough seas.

Edit: I don't like to run heavy baits off the tips, and not even off the lower rigging if I can help it. (tandems mostly)
I subscribe to the "longer = lighter" rule and put my heavy baits (umbrellas) directly off the stern rods.
My typical spread is only 6 rods, tho I'll occasionally run a 7th WWB line in the spring.
 
Likewise- we mounted the wishbones as far forward as possible without interference with the bow rail. It looks like the bow rail effectively stops further forward on the 28 cabin compared to the 25.

We're going to try to run spreader bars off the inner riggers and naked ballyhoo off the long riggers... if they appear to handle them safely.
 
I have noticed differences in that rail depending on the year of manufacture.
I went around and took photos of a lot of Lee Jr installations getting ideas before mounting mine.
The differences in the bow rails was one thing I discovered.

Good luck with them! :)
 

Latest posts

Back
Top